Double opt-in is a process that requires a user to confirm their email address before they are added to a mailing list. This is useful to ensure that the email address is valid, and is an extra step to gain confirmation that the user wants to be subscribed. In some parts of the world, double opt-in is a best practice and in some countries, a legal requirement.
This guide requires writing code, a system for handling form submissions, and
a way to store signups outside Loops before they are verified.
How it works
Double opt-in works by sending a verification email to the user’s email address when they sign up for a mailing list. The user then confirms their subscription typically by clicking a link in the email or entering a code into a web page. Once the subscription is confirmed, the user can then be safely added to the mailing list.
Setting up double opt-in in Loops
To create a double opt-in flow in Loops, we can use the API and transactional emails together. The actual sign-up form will need to be handled by your own application, then you can use the Loops API to send the verification email and then add the user to your audience once the email is confirmed.
Here are the steps you need to follow:
- Create a new transactional email in Loops.
- Create a form in your application on your website.
- When the form is submitted, send the transactional email to the user’s email address, including a link to confirm their email address.
- Build a page to handle the confirmation step.
- When confirmed, add the contact to your audience in Loops.
Let’s jump in.
Create a transactional email
First, let’s create a transactional email in Loops. Do this from the Transactional page in the Loops dashboard or you can use a ready-made template.
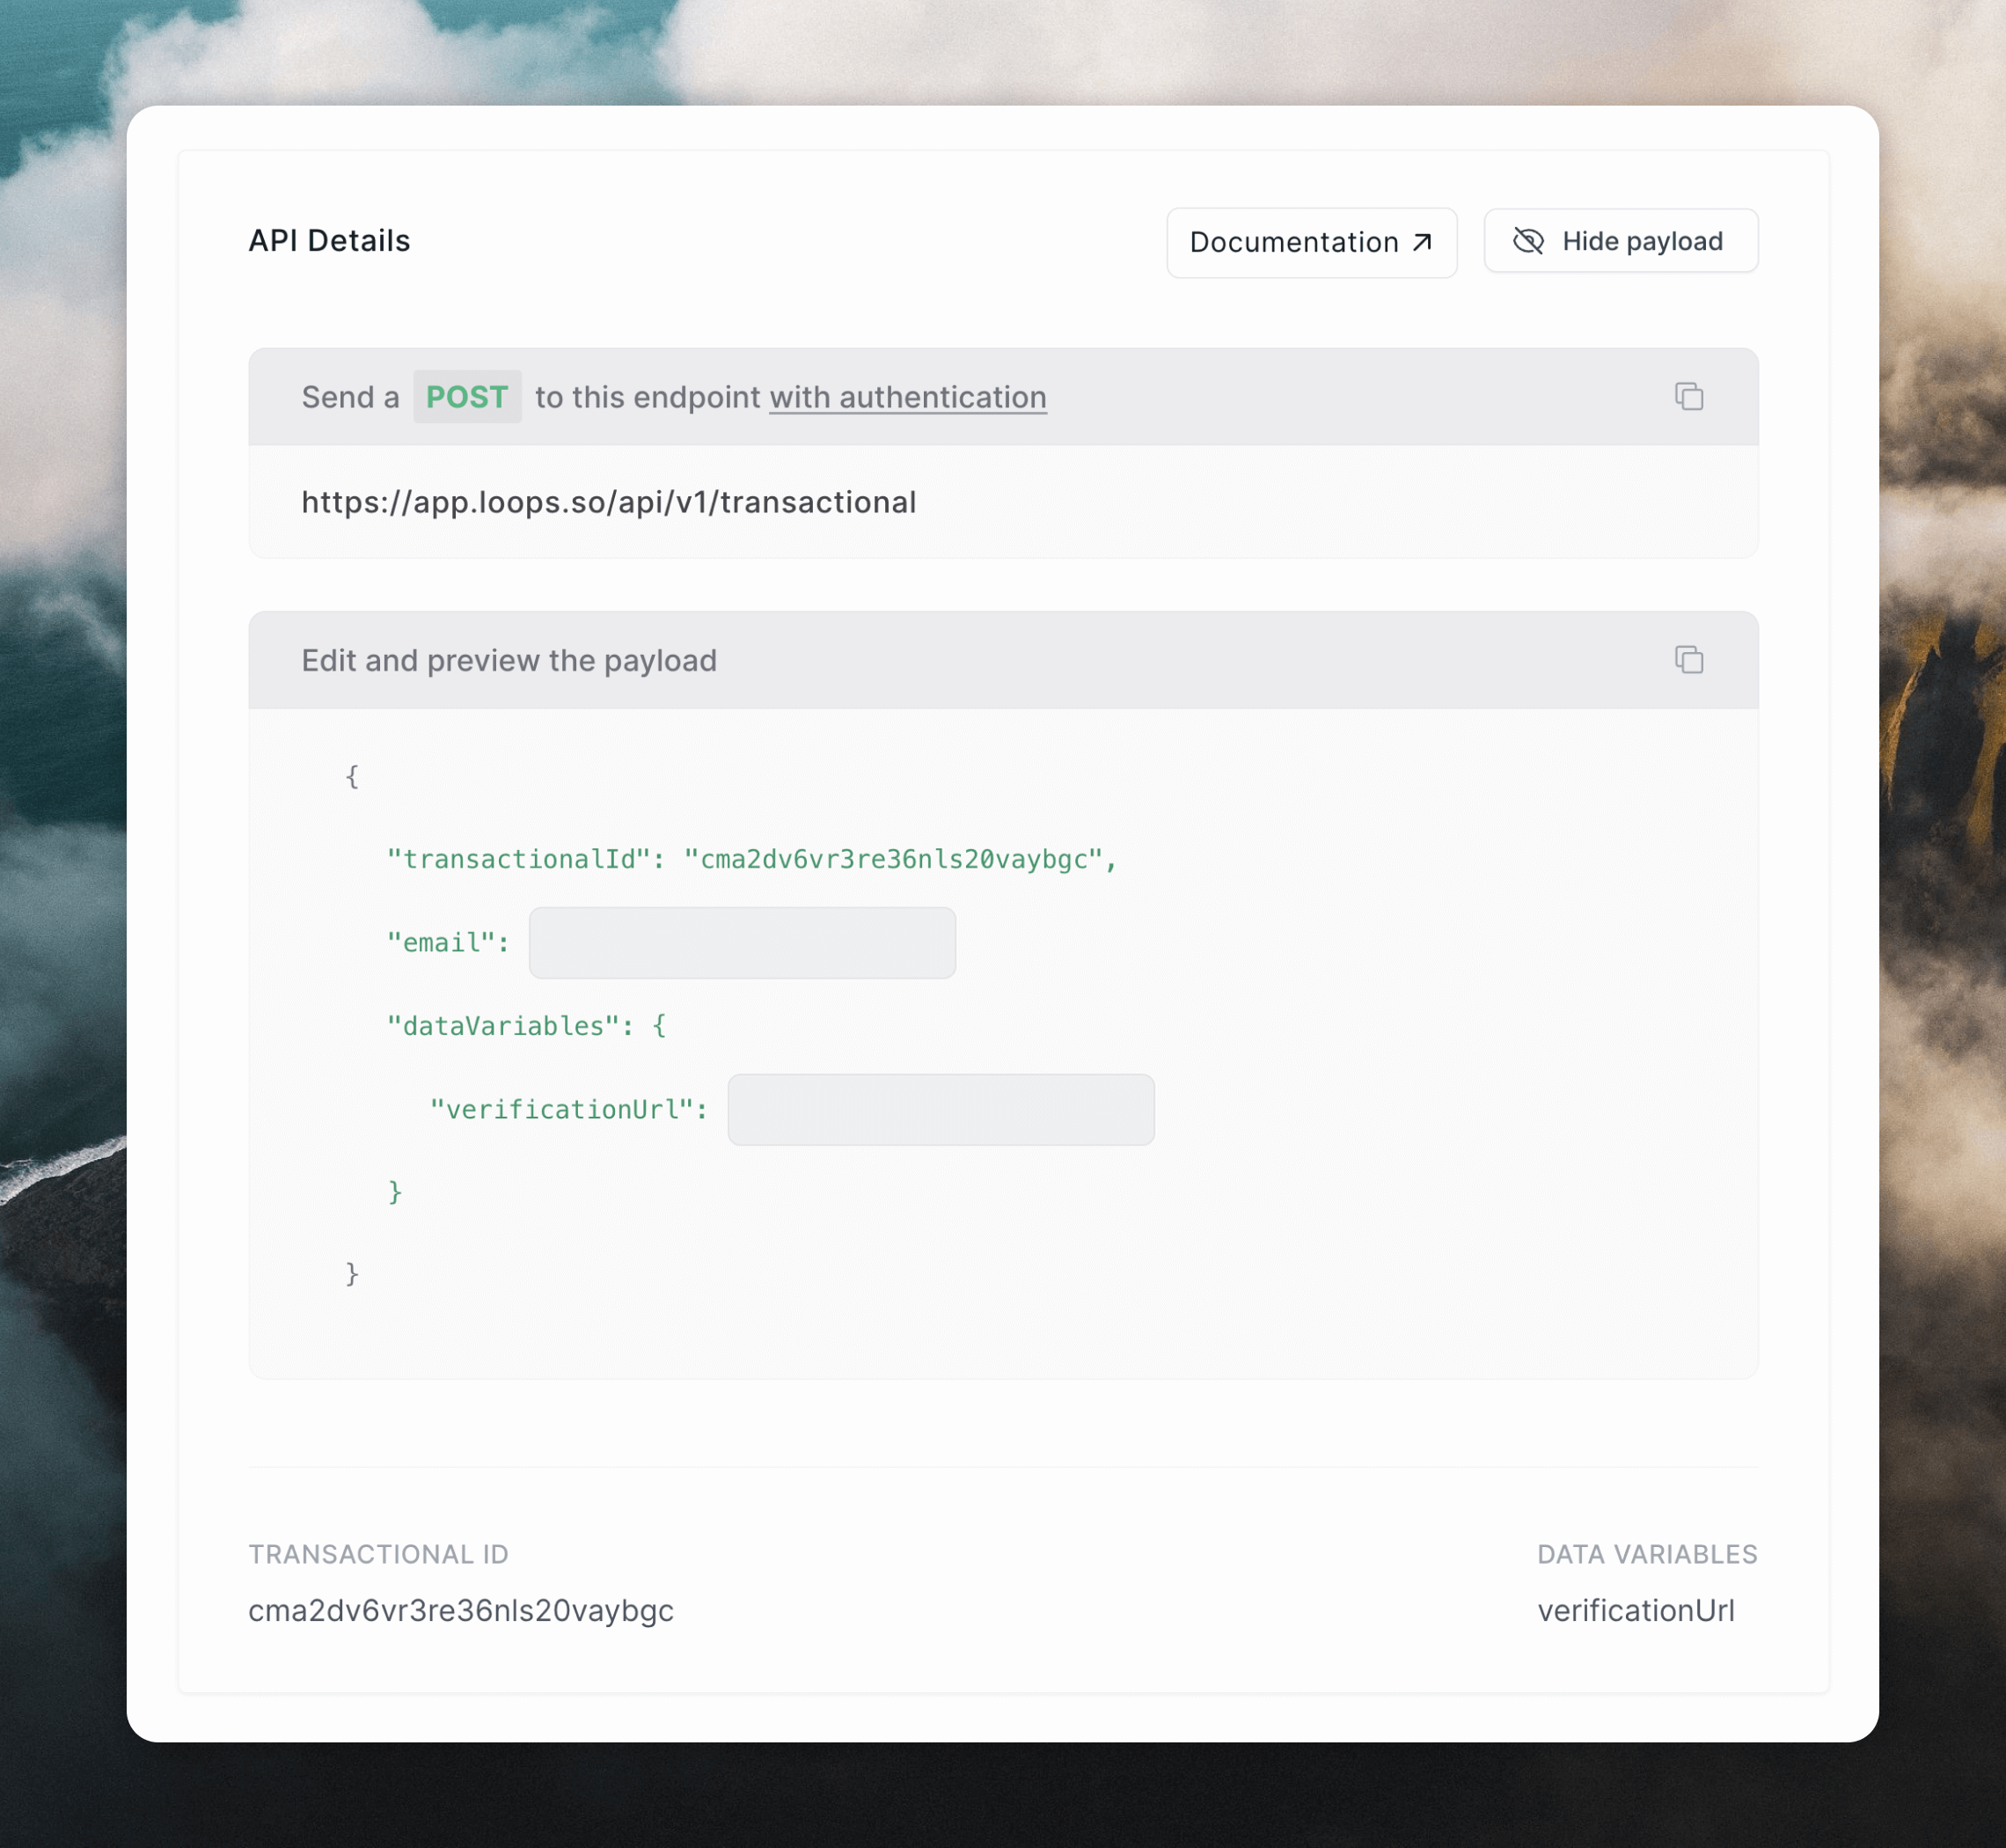
Create a new transactional email containing whatever content you like, and make sure to add a data variable for the confirmation URL, like verificationUrl. We will populate this with the unique code when sending the email.
You can add this a text into your email. Or add a link to text or a button by using the Link sidebar panel.
To add a link to your button: Click the data variable icon (1), then click into the link field (2), then add the data variable name (3)
<form action="/signup" method="POST">
  <input type="email" name="email" placeholder="Email address" />
  <button type="submit">Sign up</button>
</form>
For security and protection against bots and spam signups, you could add a
CSRF token or use a honeypot field in the form.
import { NextApiRequest, NextApiResponse } from 'next';
import { PrismaClient } from '@prisma/client';
import crypto from 'crypto';

const prisma = new PrismaClient();

export default async function handler(req: NextApiRequest, res: NextApiResponse) {
  if (req.method !== 'POST') {
    return res.status(405).json({ error: 'Method not allowed' });
  }

  try {
    const { email } = req.body;

    if (!email) {
      return res.status(400).json({ error: 'Email is required' });
    }

    // Generate a unique verification code using UUID
    const code = crypto.randomUUID();

    // Store the email and verification code
    const signupToken = await prisma.signupToken.create({
      data: {
        email,
        code,
        expiresAt: new Date(Date.now() + 24 * 60 * 60 * 1000), // 24 hours from now
      },
    });

    // TODO: Send the verification email

    return res.status(200).json({
      success: true,
      message: 'Signup token created successfully',
      data: signupToken
    });

  } catch (error) {
    console.error('Error creating signup token:', error);
    return res.status(500).json({ error: 'Internal server error' });
  }
}
 Then we can use the Loops API or an SDK to send the email. Here’s an example using the Loops JavaScript SDK. Note that you’ll also need to add a Loops API key.
import { NextApiRequest, NextApiResponse } from "next";
import { PrismaClient } from "@prisma/client";
import crypto from "crypto";
import { LoopsClient, APIError } from "loops";

const prisma = new PrismaClient();
const loops = new LoopsClient(process.env.LOOPS_API_KEY);

export default async function handler(
  req: NextApiRequest,
  res: NextApiResponse
) {
  if (req.method !== "POST") {
    return res.status(405).json({ error: "Method not allowed" });
  }

  try {
    const { email } = req.body;

    if (!email) {
      return res.status(400).json({ error: "Email is required" });
    }

    // Generate a unique verification code using UUID
    const code = crypto.randomUUID();

    // Store the email and verification code
    const signupToken = await prisma.signupToken.create({
      data: {
        email,
        code,
        expiresAt: new Date(Date.now() + 24 * 60 * 60 * 1000), // 24 hours from now
      },
    });

    // Send the verification email
    try {
      await loops.sendTransactionalEmail({
        transactionalId: "<your_email_id>",
        email: email,
        dataVariables: {
          verificationUrl: `https://yourdomain.com/verify?code=${code}&email=${email}`,
        },
      });
    } catch (error) {
      if (error instanceof APIError) {
        // API error, details will be in the error.json.message property
      } else {
        // Non API error
      }
    }

    return res.status(200).json({
      success: true,
      message: "Signup token created successfully",
      data: signupToken,
    });
  } catch (error) {
    console.error("Error creating signup token:", error);
    return res.status(500).json({ error: "Internal server error" });
  }
}
Build the verification page
The final step is to build a page to handle the confirmation step. This page will be used to verify the email address and add the contact to the audience.
Here’s an example of an endpoint, which could be called from the verification page, to check the email address and code from the verification URL.
We use the updateContact() method from the SDK to add the contact to the audience. This will create the contact if they don’t exist yet.
import { NextApiRequest, NextApiResponse } from 'next';
import { PrismaClient } from '@prisma/client';
import { LoopsClient, APIError } from "loops";

const prisma = new PrismaClient();
const loops = new LoopsClient(process.env.LOOPS_API_KEY);

export default async function handler(req: NextApiRequest, res: NextApiResponse) {
  if (req.method !== 'POST') {
    return res.status(405).json({ error: 'Method not allowed' });
  }

  try {
    const { code, email } = req.body;

    if (!code || !email) {
      return res.status(400).json({ error: 'Verification code and email are required' });
    }

    // Find the token in the database
    const token = await prisma.signupToken.findUnique({
      where: { code, email },
    });

    // Check if token exists
    if (!token) {
      return res.status(404).json({ error: 'Invalid verification code' });
    }

    // Check if token has expired
    if (token.expiresAt < new Date()) {
      return res.status(400).json({ error: 'Verification code has expired' });
    }

    // Add the contact to Loops
    // Instead of using createContact(), updateContact() will
    //  create the contact if they don't exist yet, and won't
    //  return an error if the contact already exists
    try {
      await loops.updateContact(token.email);
    } catch (error) {
      if (error instanceof APIError) {
        // API error, details will be in the error.json.message property
        return res.status(500).json({ error: error.json.message });
      } else {
        // Non API error
        return res.status(500).json({ error: 'Internal server error' });
      }
    }

    // Delete the used token
    await prisma.signupToken.delete({
      where: { id: token.id },
    });

    return res.status(200).json({
      success: true,
      message: 'Email verified successfully',
      email: token.email
    });

  } catch (error) {
    console.error('Error verifying email:', error);
    return res.status(500).json({ error: 'Internal server error' });
  }
}
mailingLists property:
await loops.updateContact(
  token.email,
  {},
  {
    "<your_mailing_list_id>": true,
  }
);
Learn more
