Documentation Index
Fetch the complete documentation index at: https://loops.so/docs/llms.txt
Use this file to discover all available pages before exploring further.
Getting Started
To start building your Loop, select a template or start from scratch.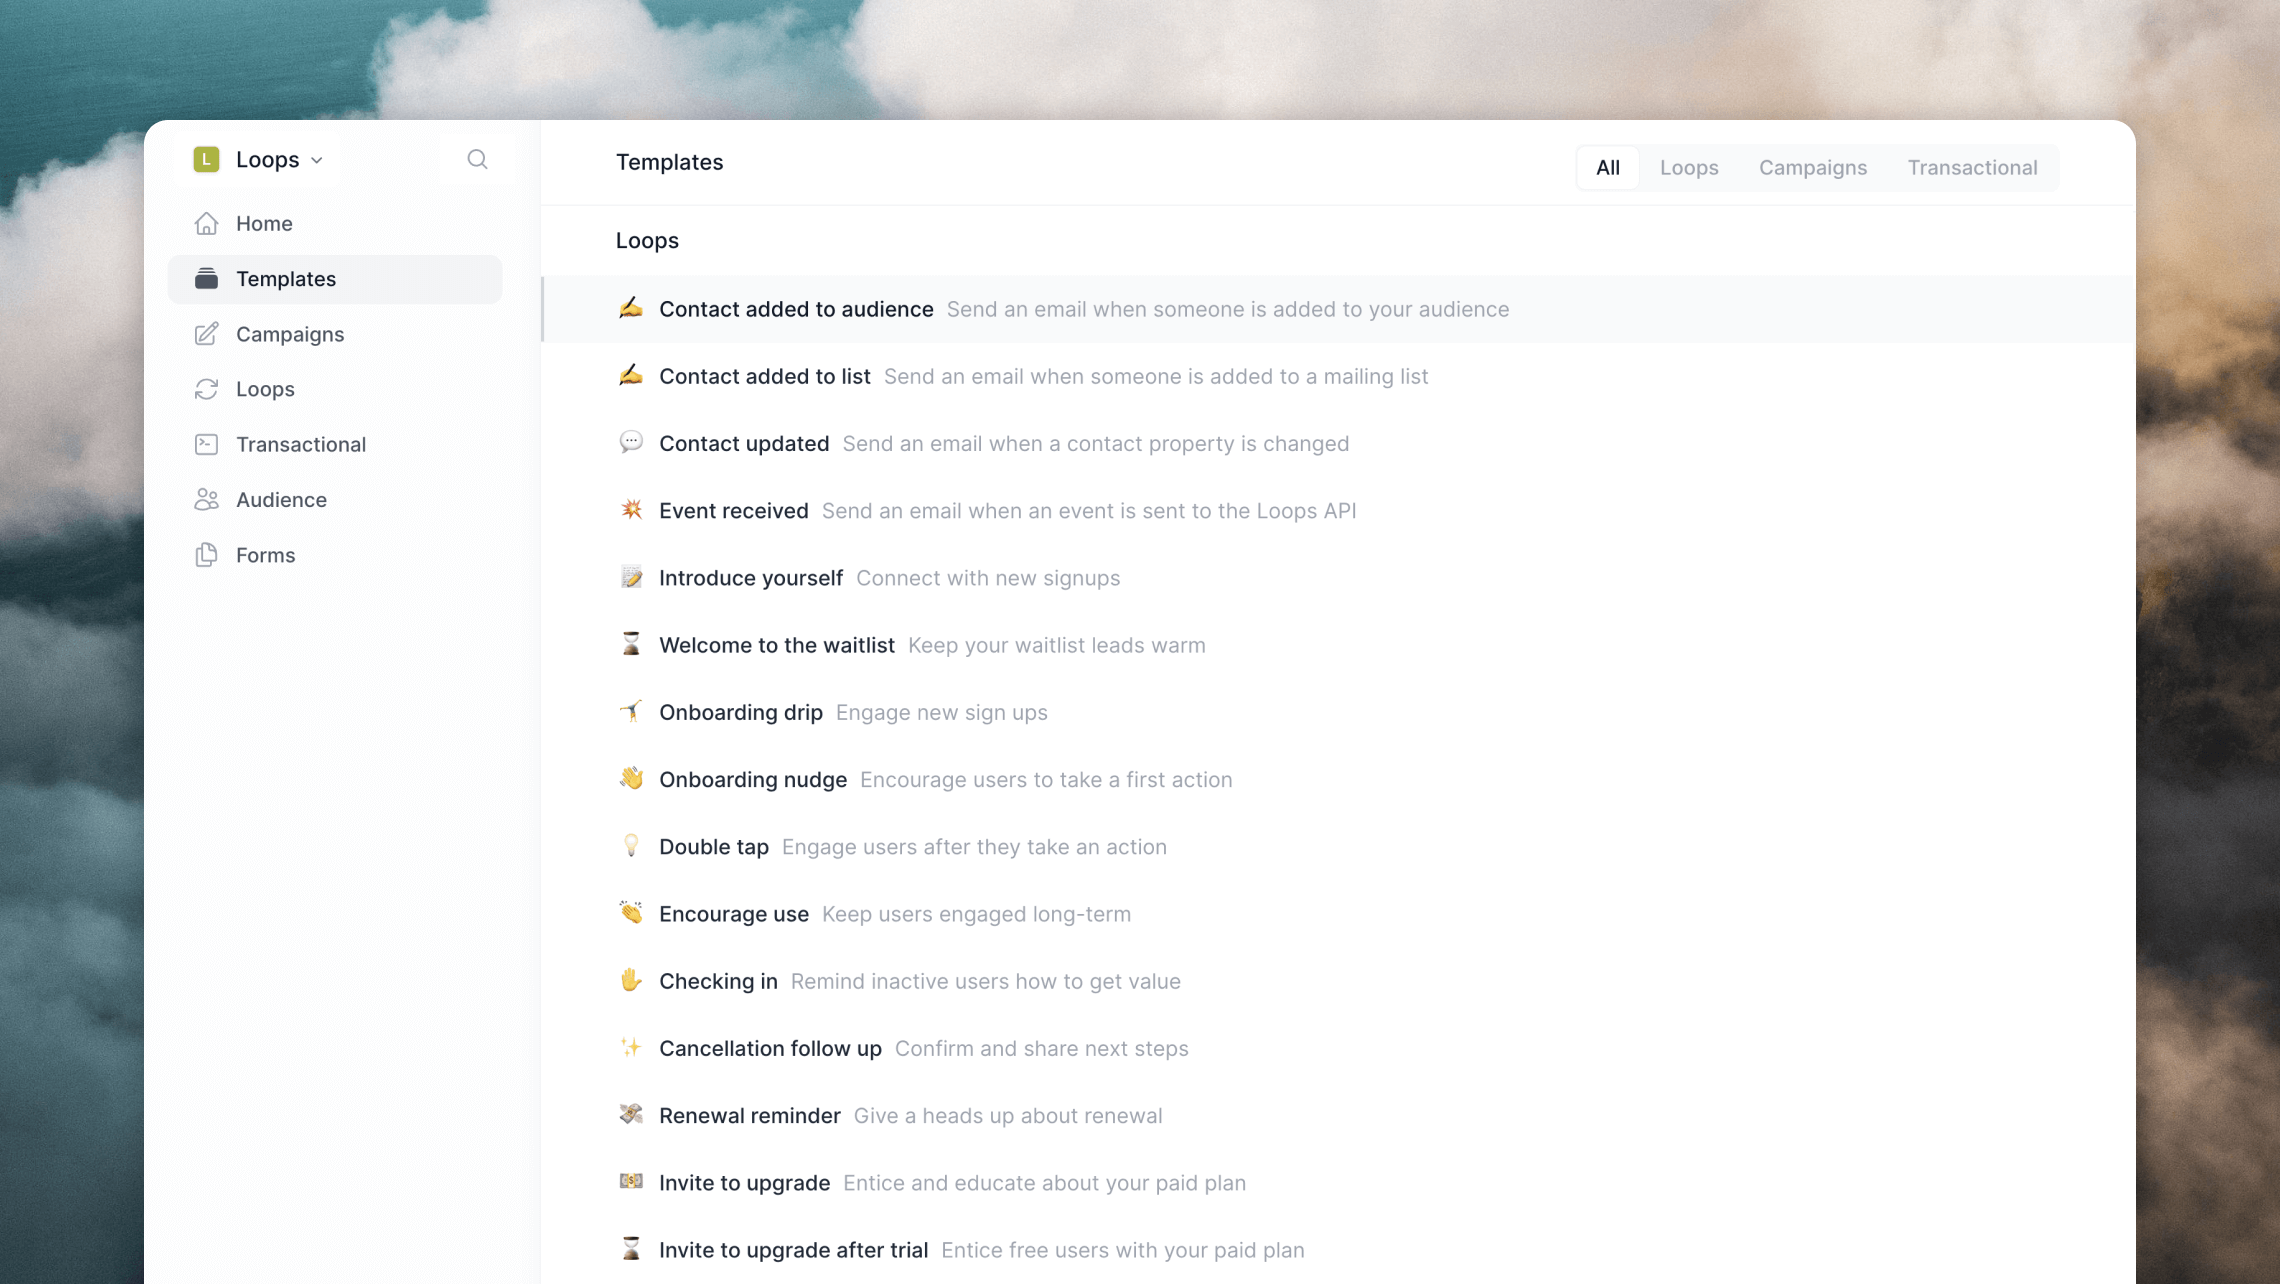
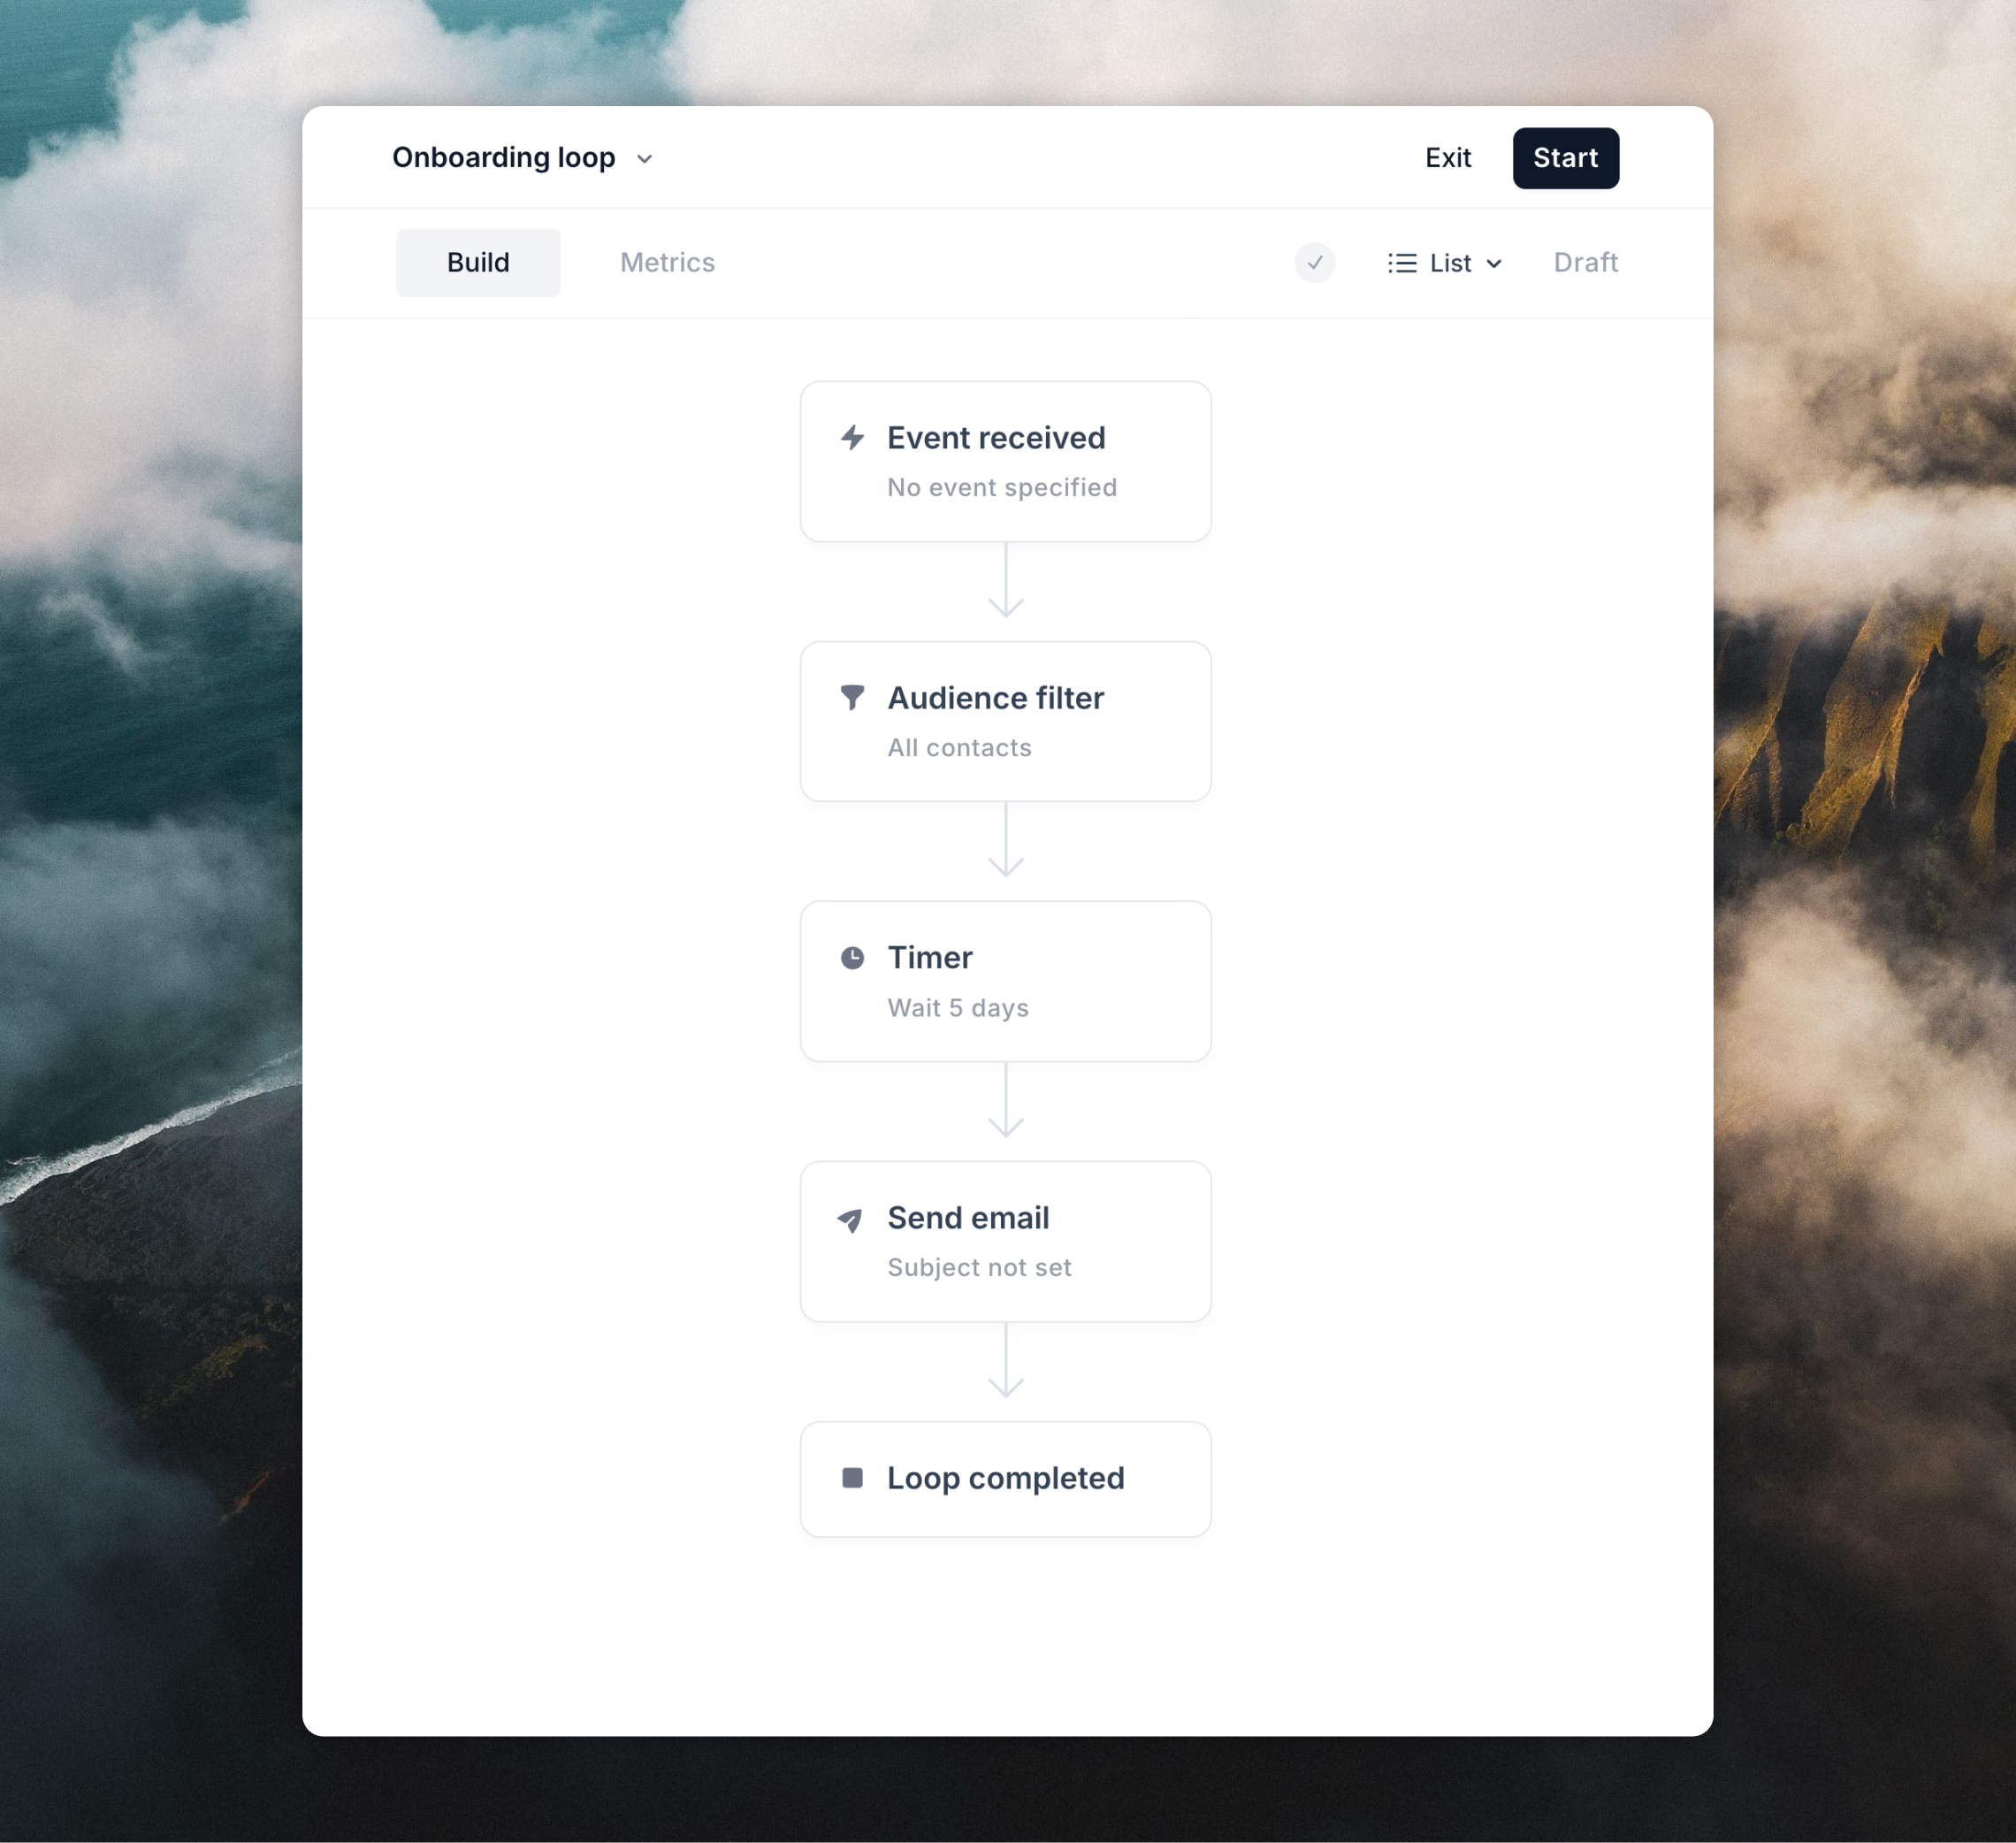
Building a loop
A Loop is an email sequence that can be triggered by different events, and containing emails, delay timers and branches. You can add new nodes to your loop by hovering over an arrow between nodes and clicking the+ button.
More complex loops can be built by adding branches.
Zoom and canvas navigation
You can zoom in and pan around the loop builder canvas, which makes it easier to work with larger and multi-branch loops. Zoom and panning uses typical trackpad and mouse gestures, so should be familiar. On a trackpad- Pinch to zoom in and out
- Use two fingers to pan around the canvas
- Use
⌘/Ctrland the scroll wheel to zoom - Use the scroll wheel to pan vertically
- Use
Shiftand the scroll wheel to pan horizontally
Mailing lists
You can make a loop send to a specific mailing list by using the dropdown in the top right of the loop builder. By selecting lists from this dropdown you can make sure that only contacts from those lists are added to the loop.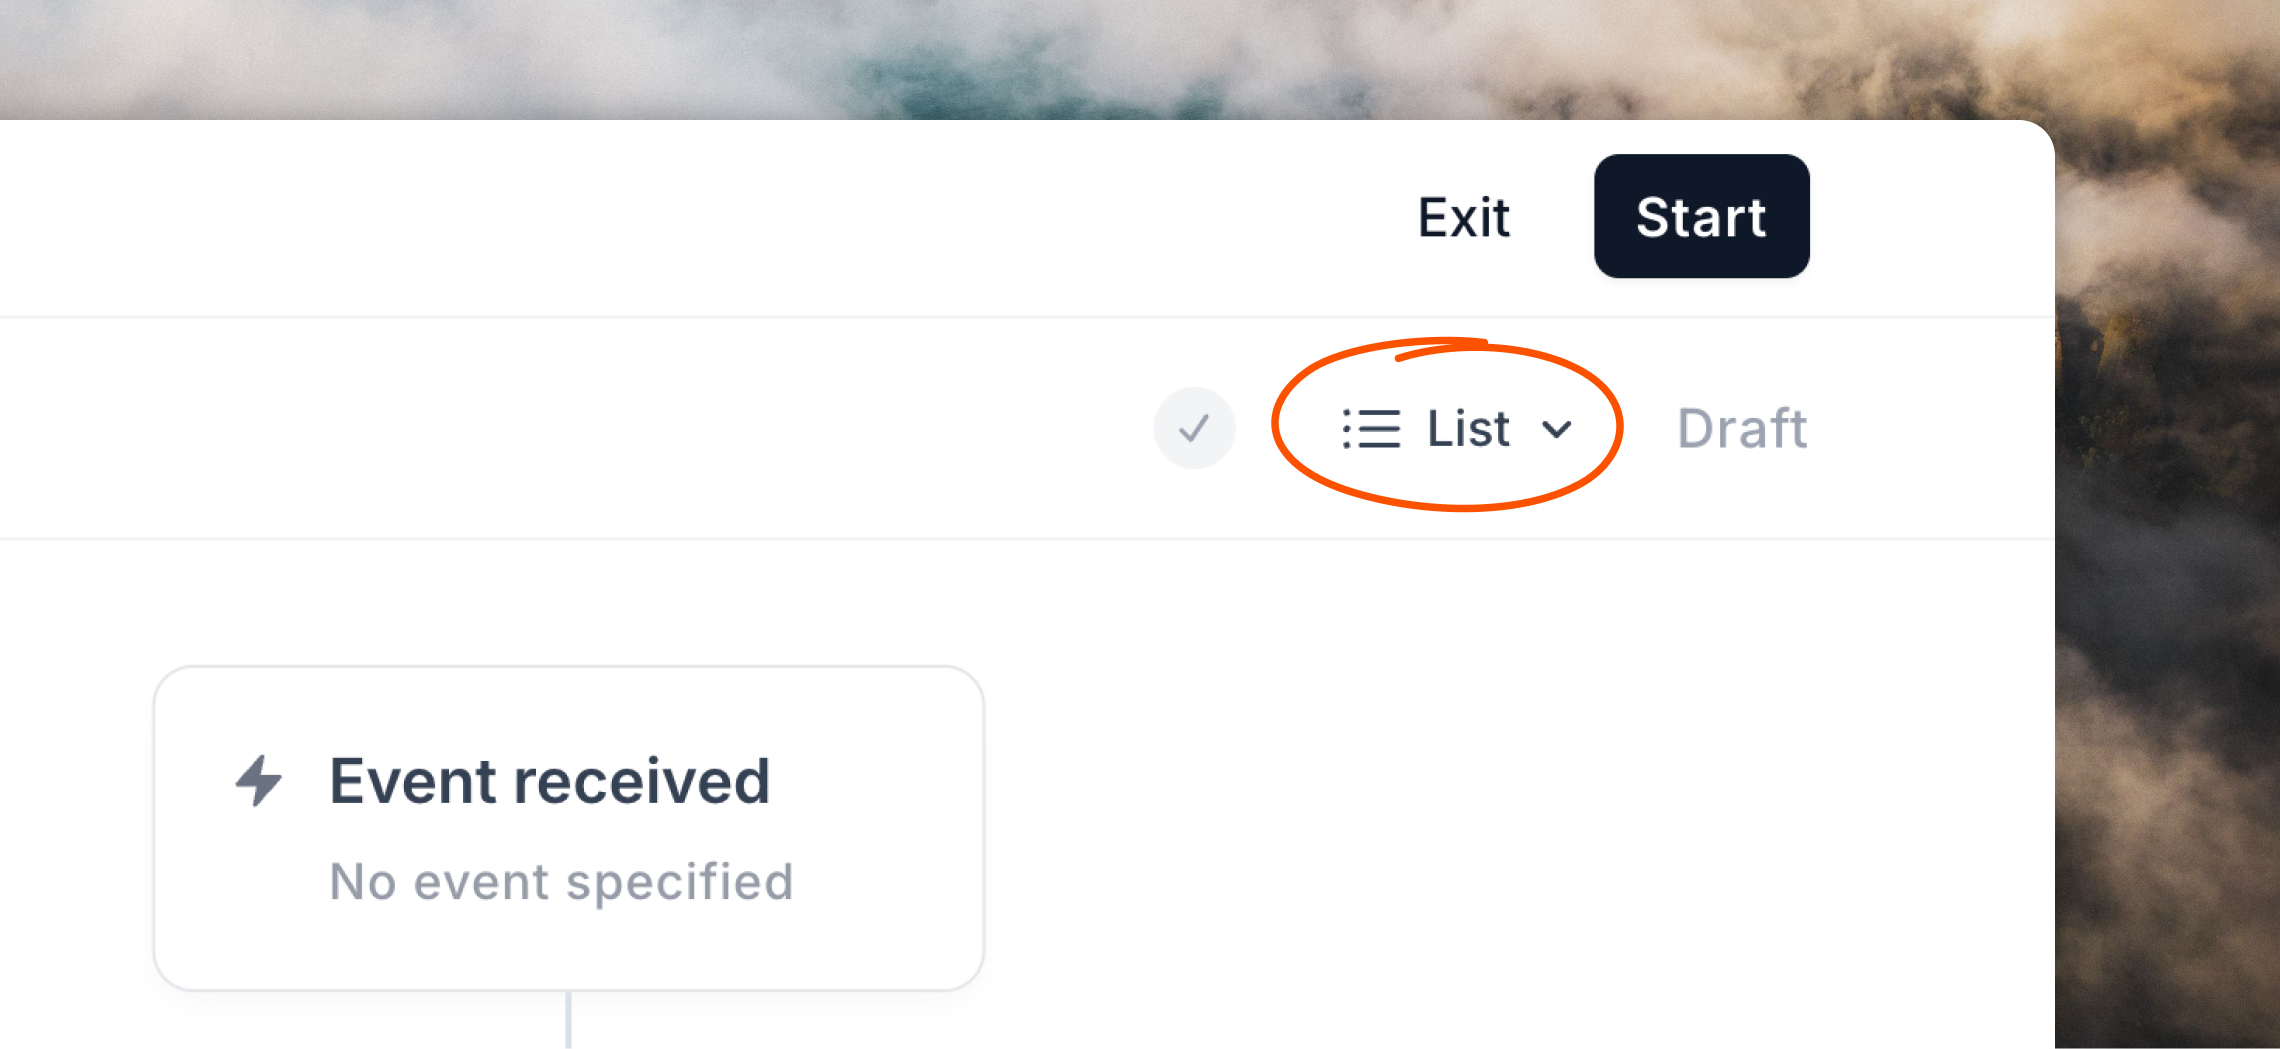
When using the Contact added to list trigger, this option is removed and
you can instead select the list from the trigger node.
Nodes
There are five types of nodes available in loops:Triggers
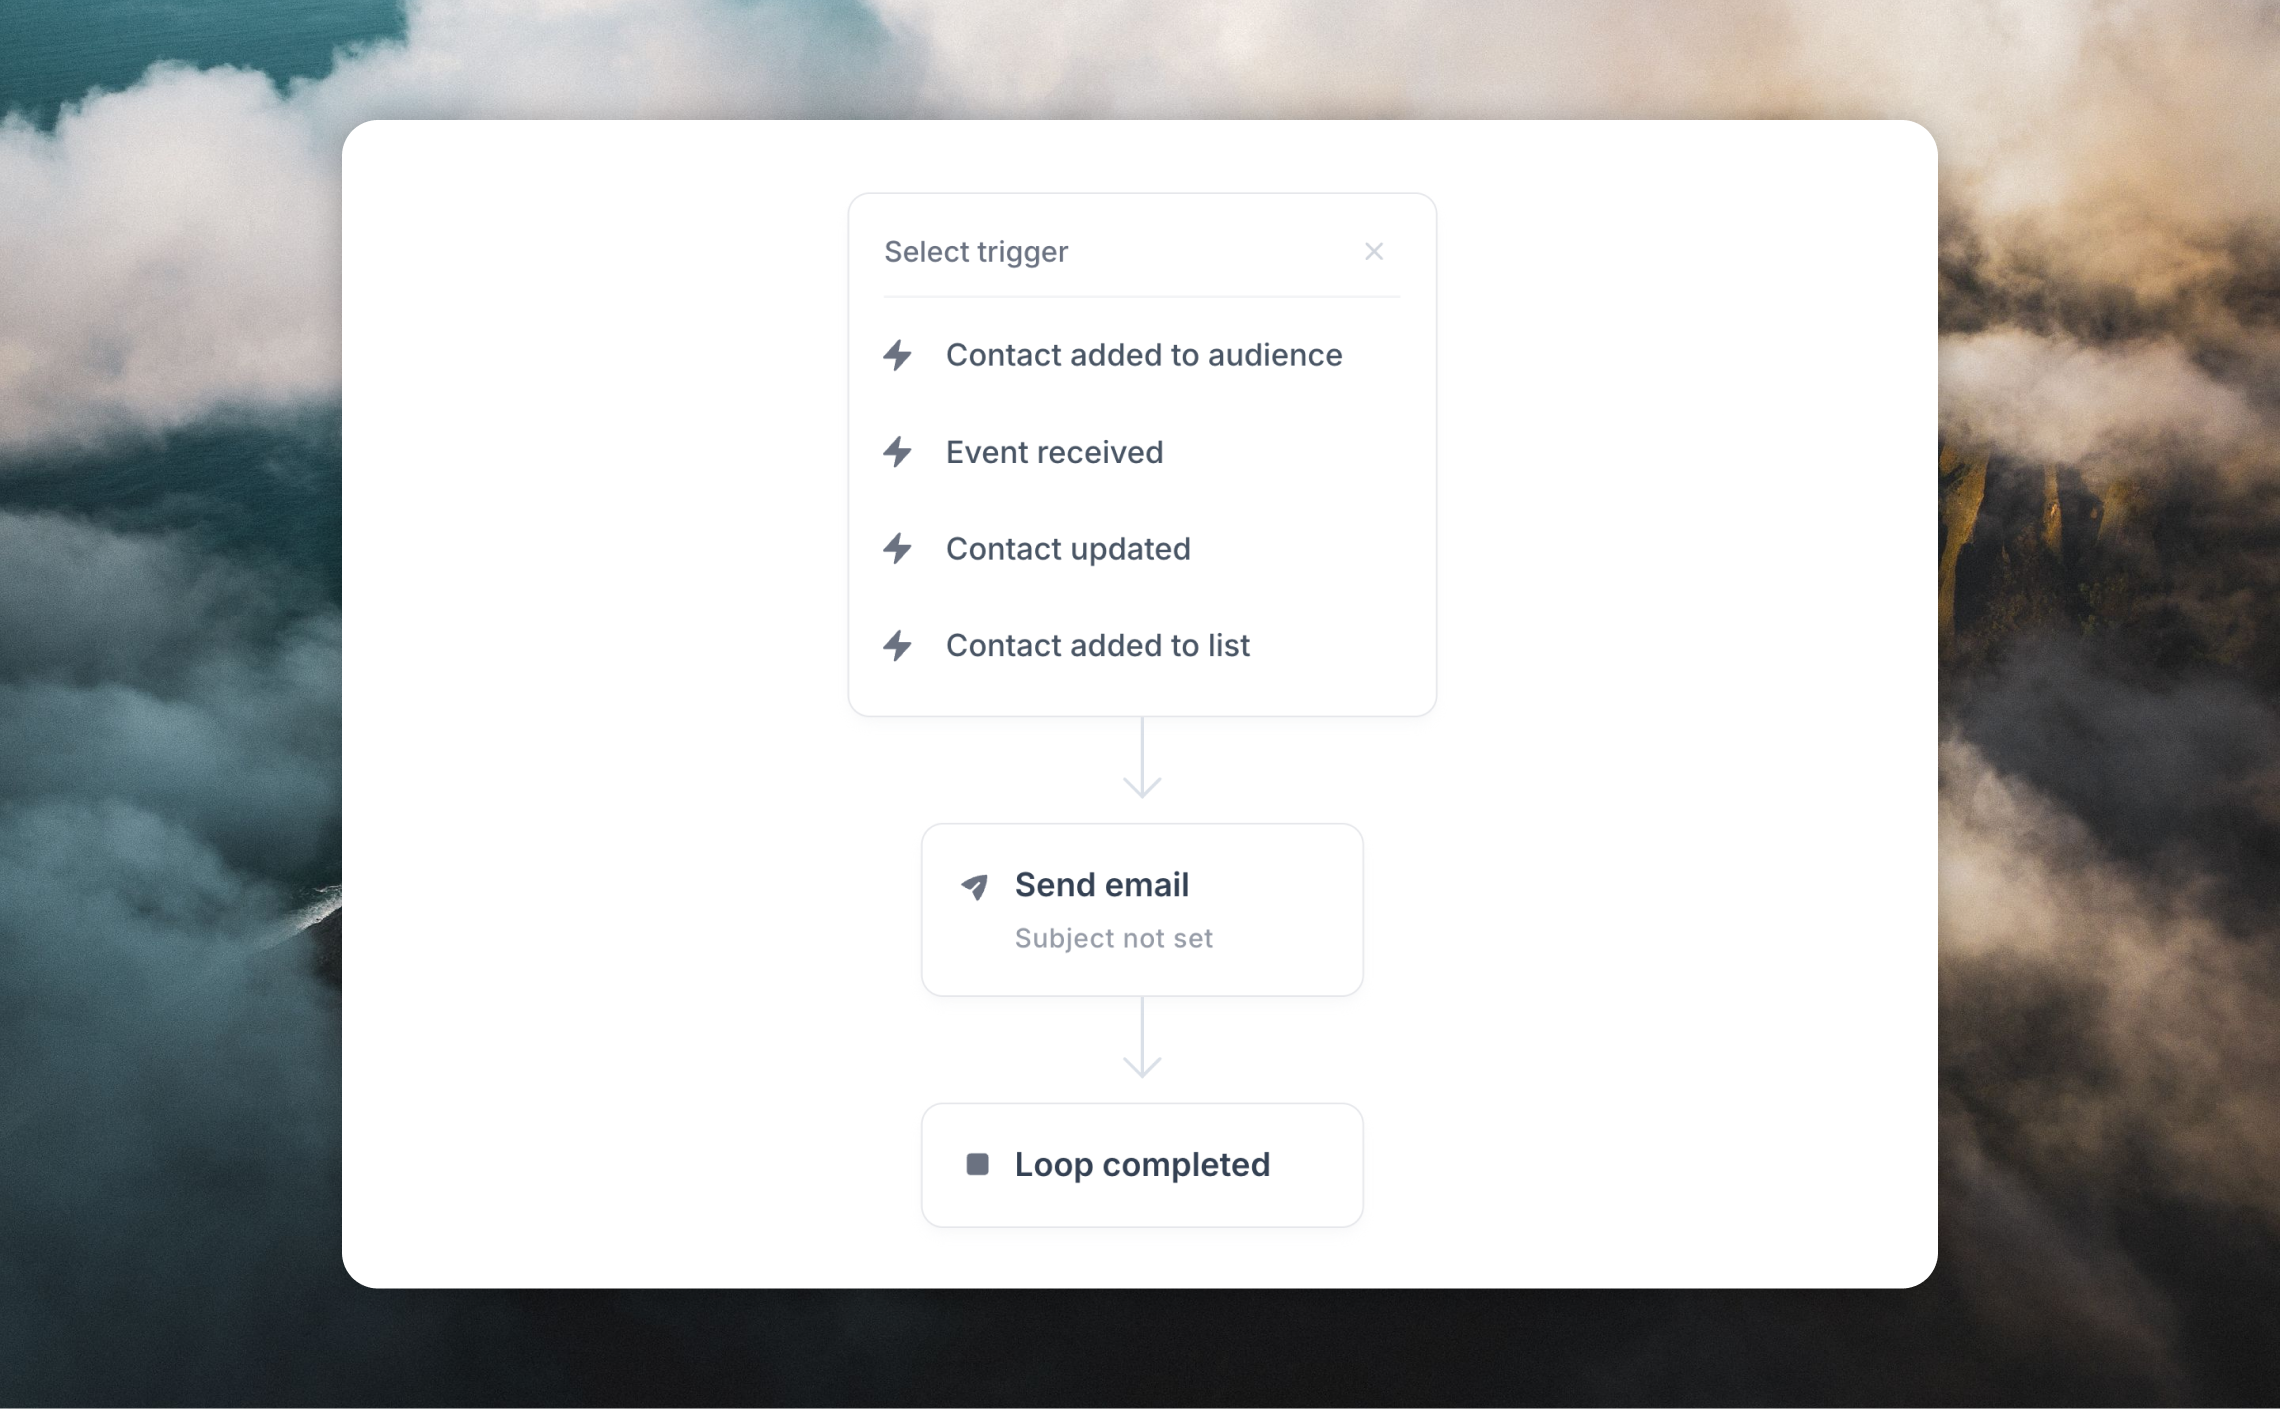
- Contact added: Triggered whenever a contact has been added to your audience.
Only contacts who have been added via a form, the API or an integration will be added based on this trigger. Contacts added individually to the audience table will not be included. Contacts added or updated via CSV will only trigger if you select the Trigger loops toggle during upload.
- Contact updated: Triggered whenever a contact property changes from one value to another. Can also conditionally trigger only if the previous property matches the inputted value.
- Contact added to list: Triggered whenever a contact is added to a certain mailing list. You can select the list from the trigger node.
- Event received: Triggered when a certain event is sent to Loops by the API or an integration. With this trigger you can start a loop based on interactions in your app. Common custom events are
signUp,canceledandactivated.
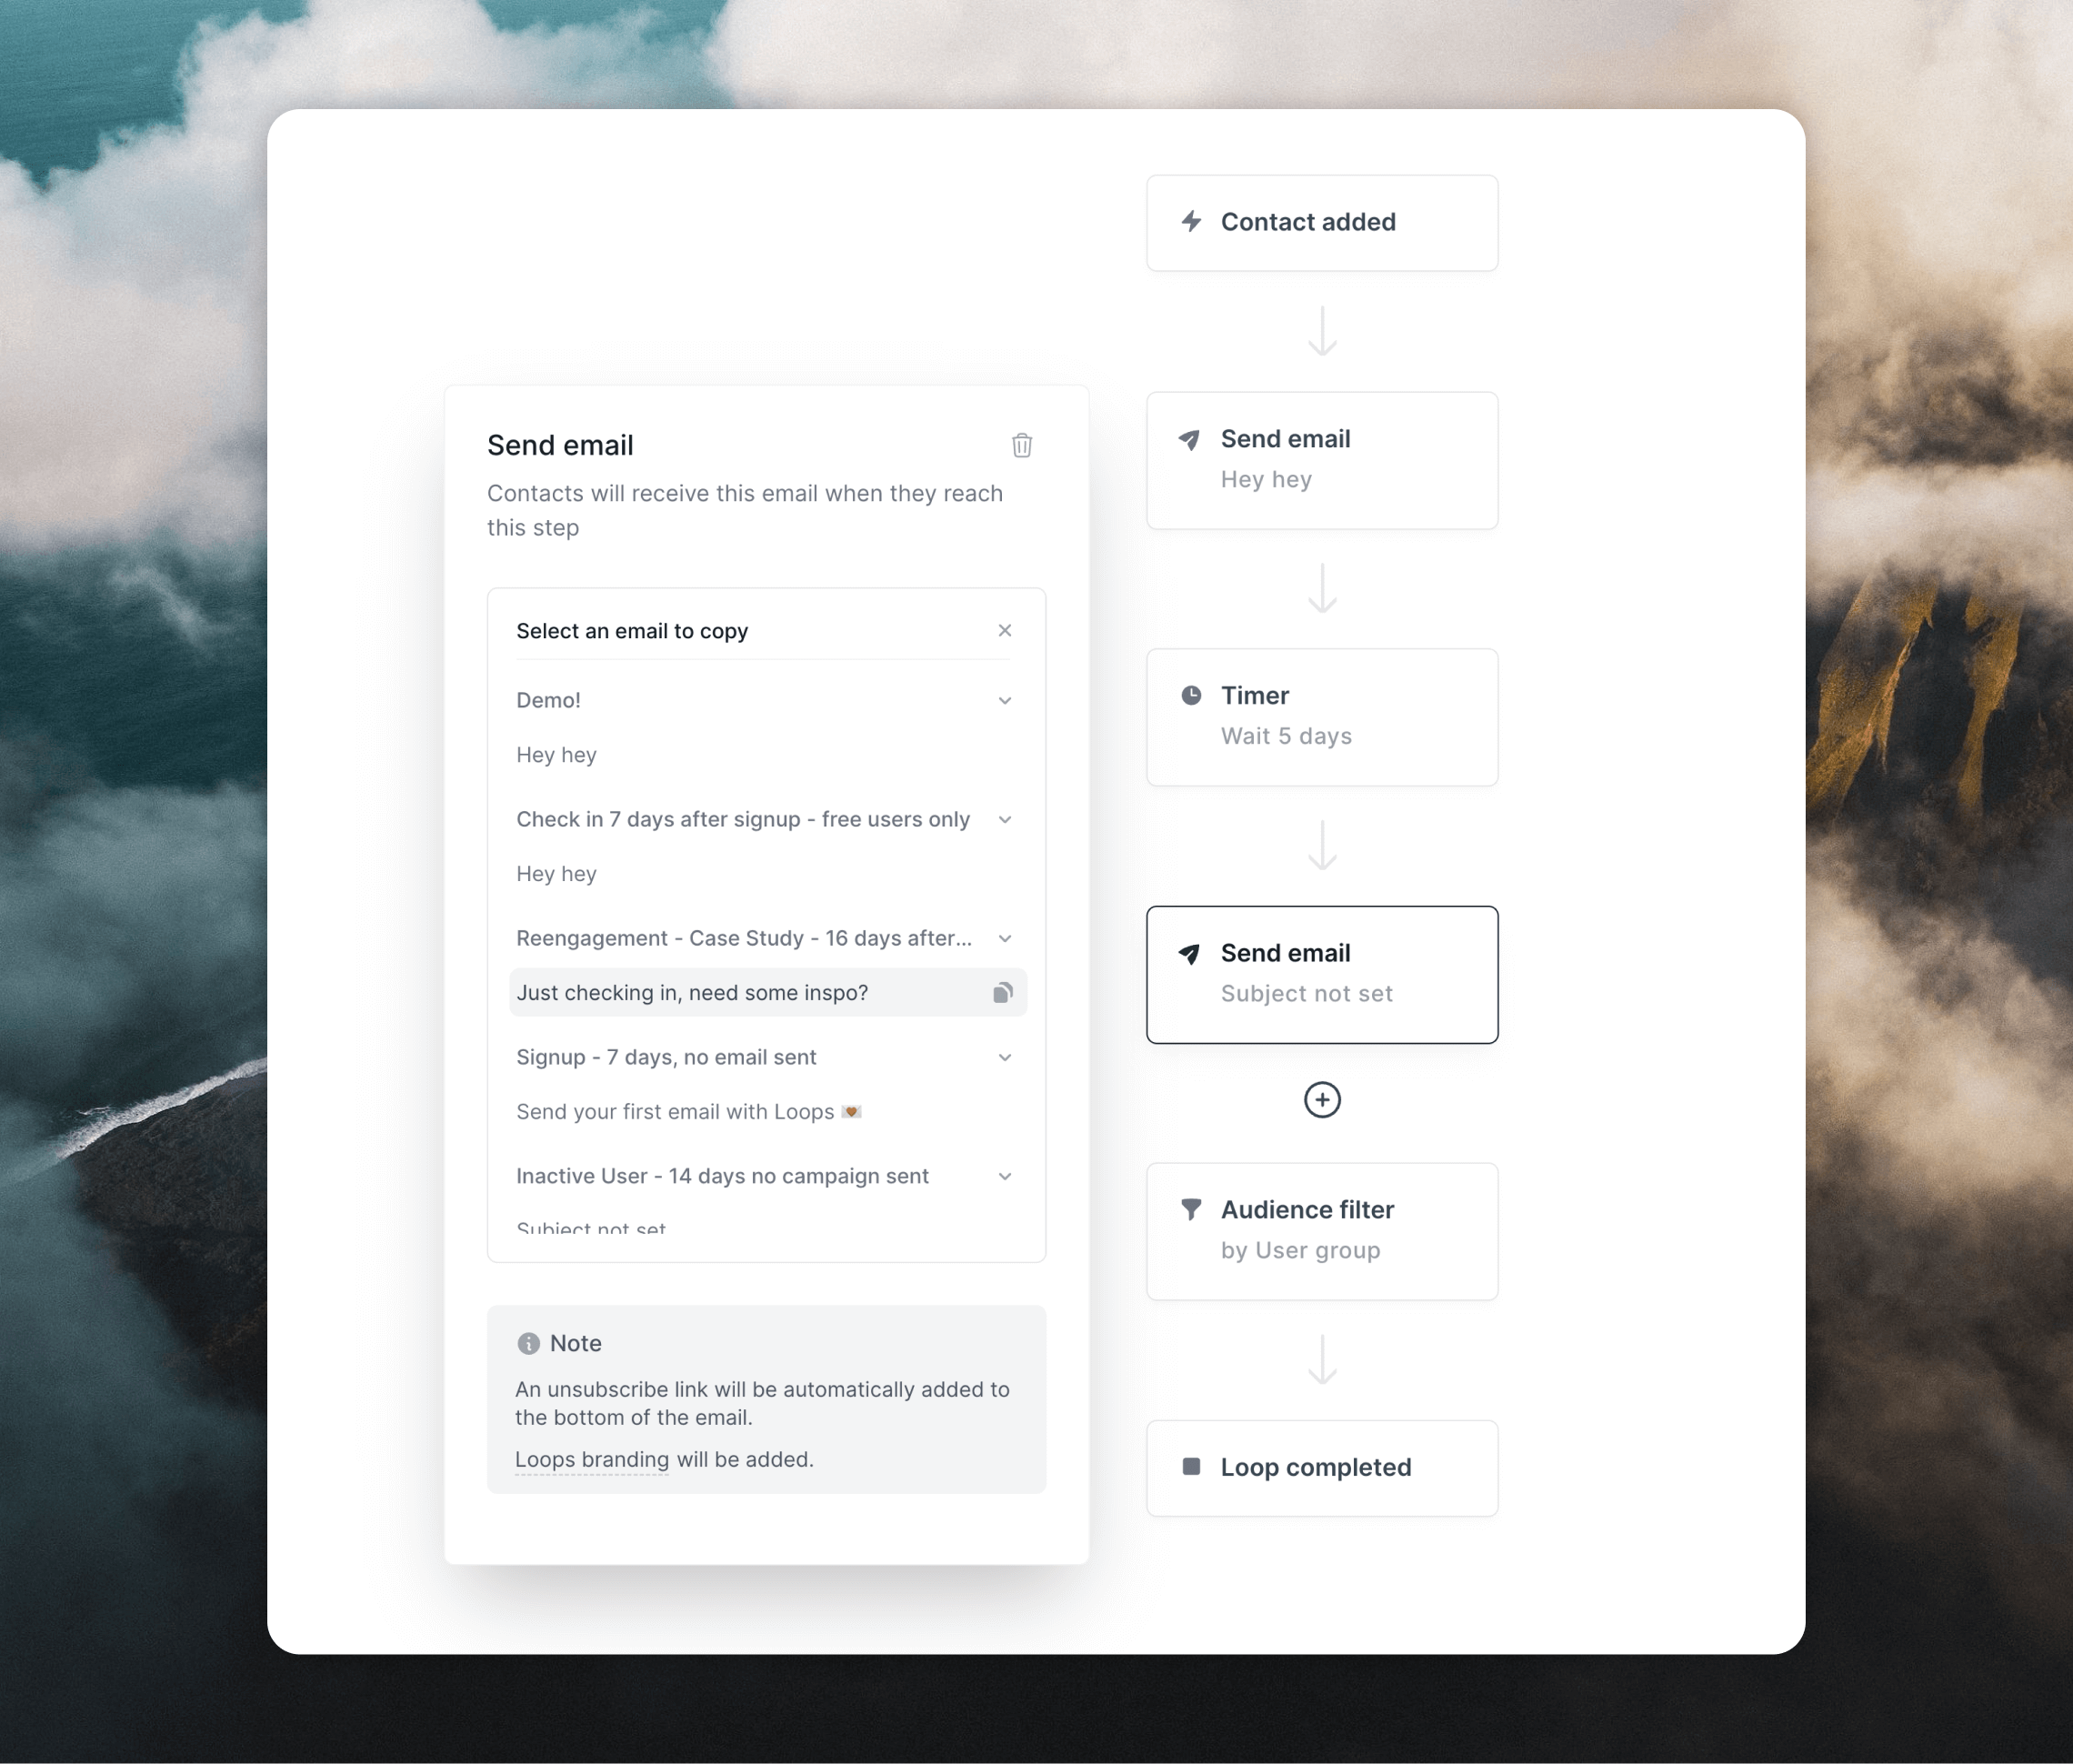
Emails
You can add emails at any location inside your loop, giving you flexibility to send mail immediately after the trigger or after a delay. You can also send to specific contacts by adding an audience filter, or by branching your loops.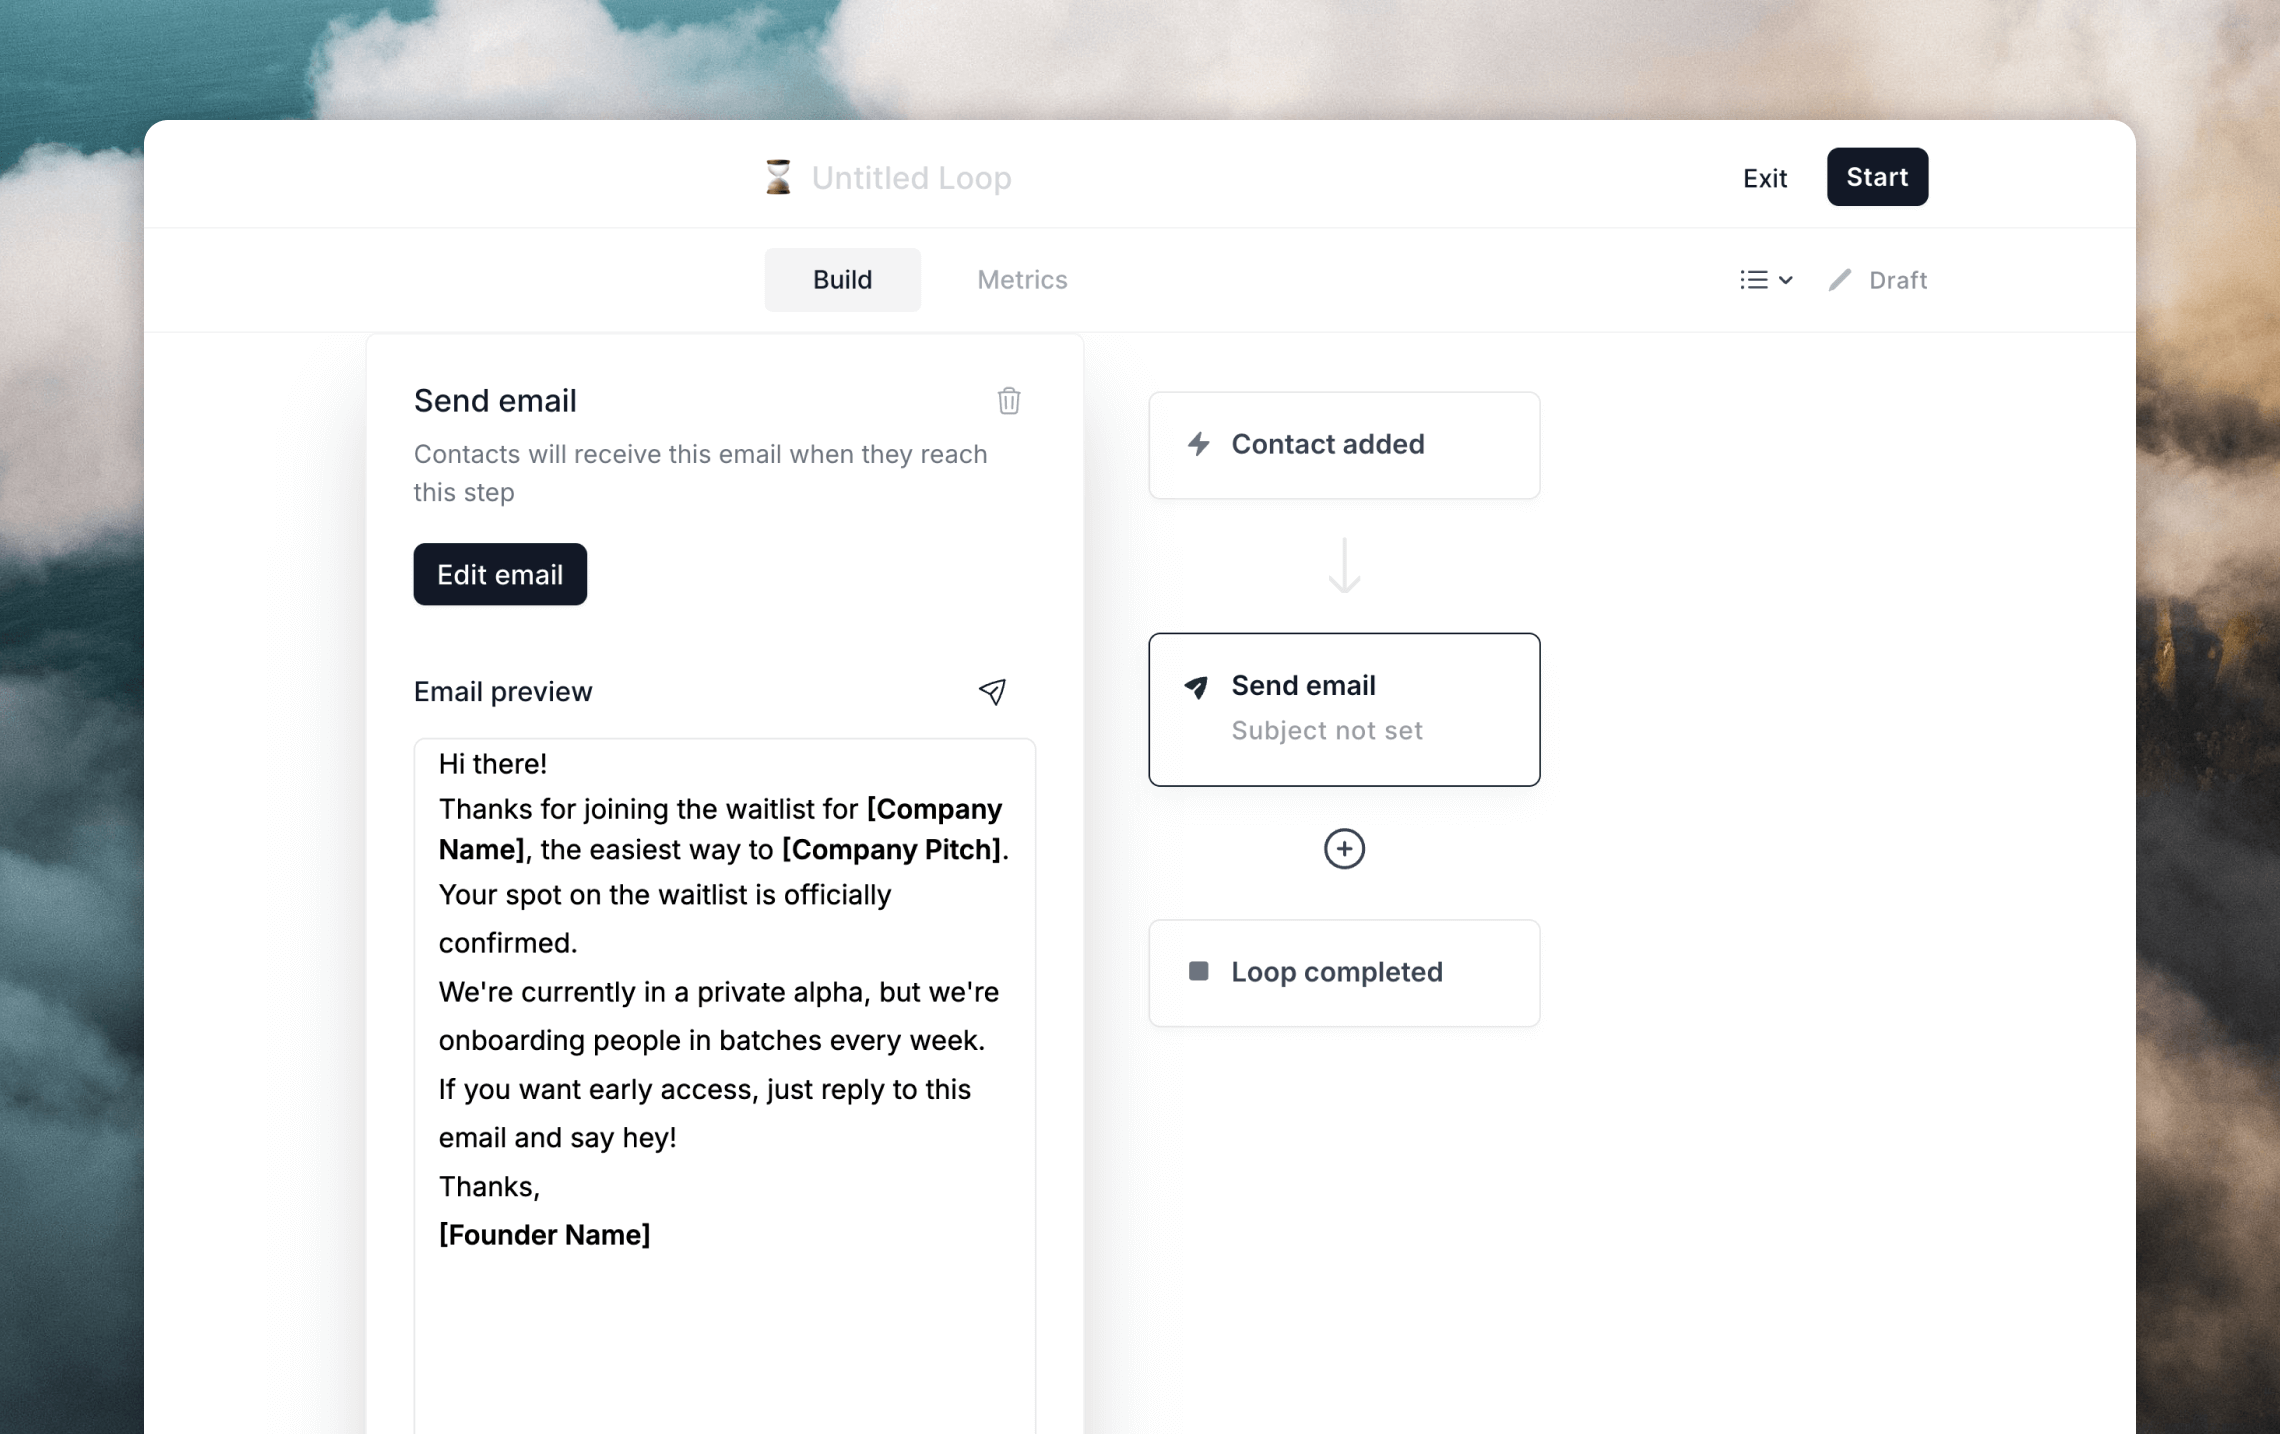
Timers
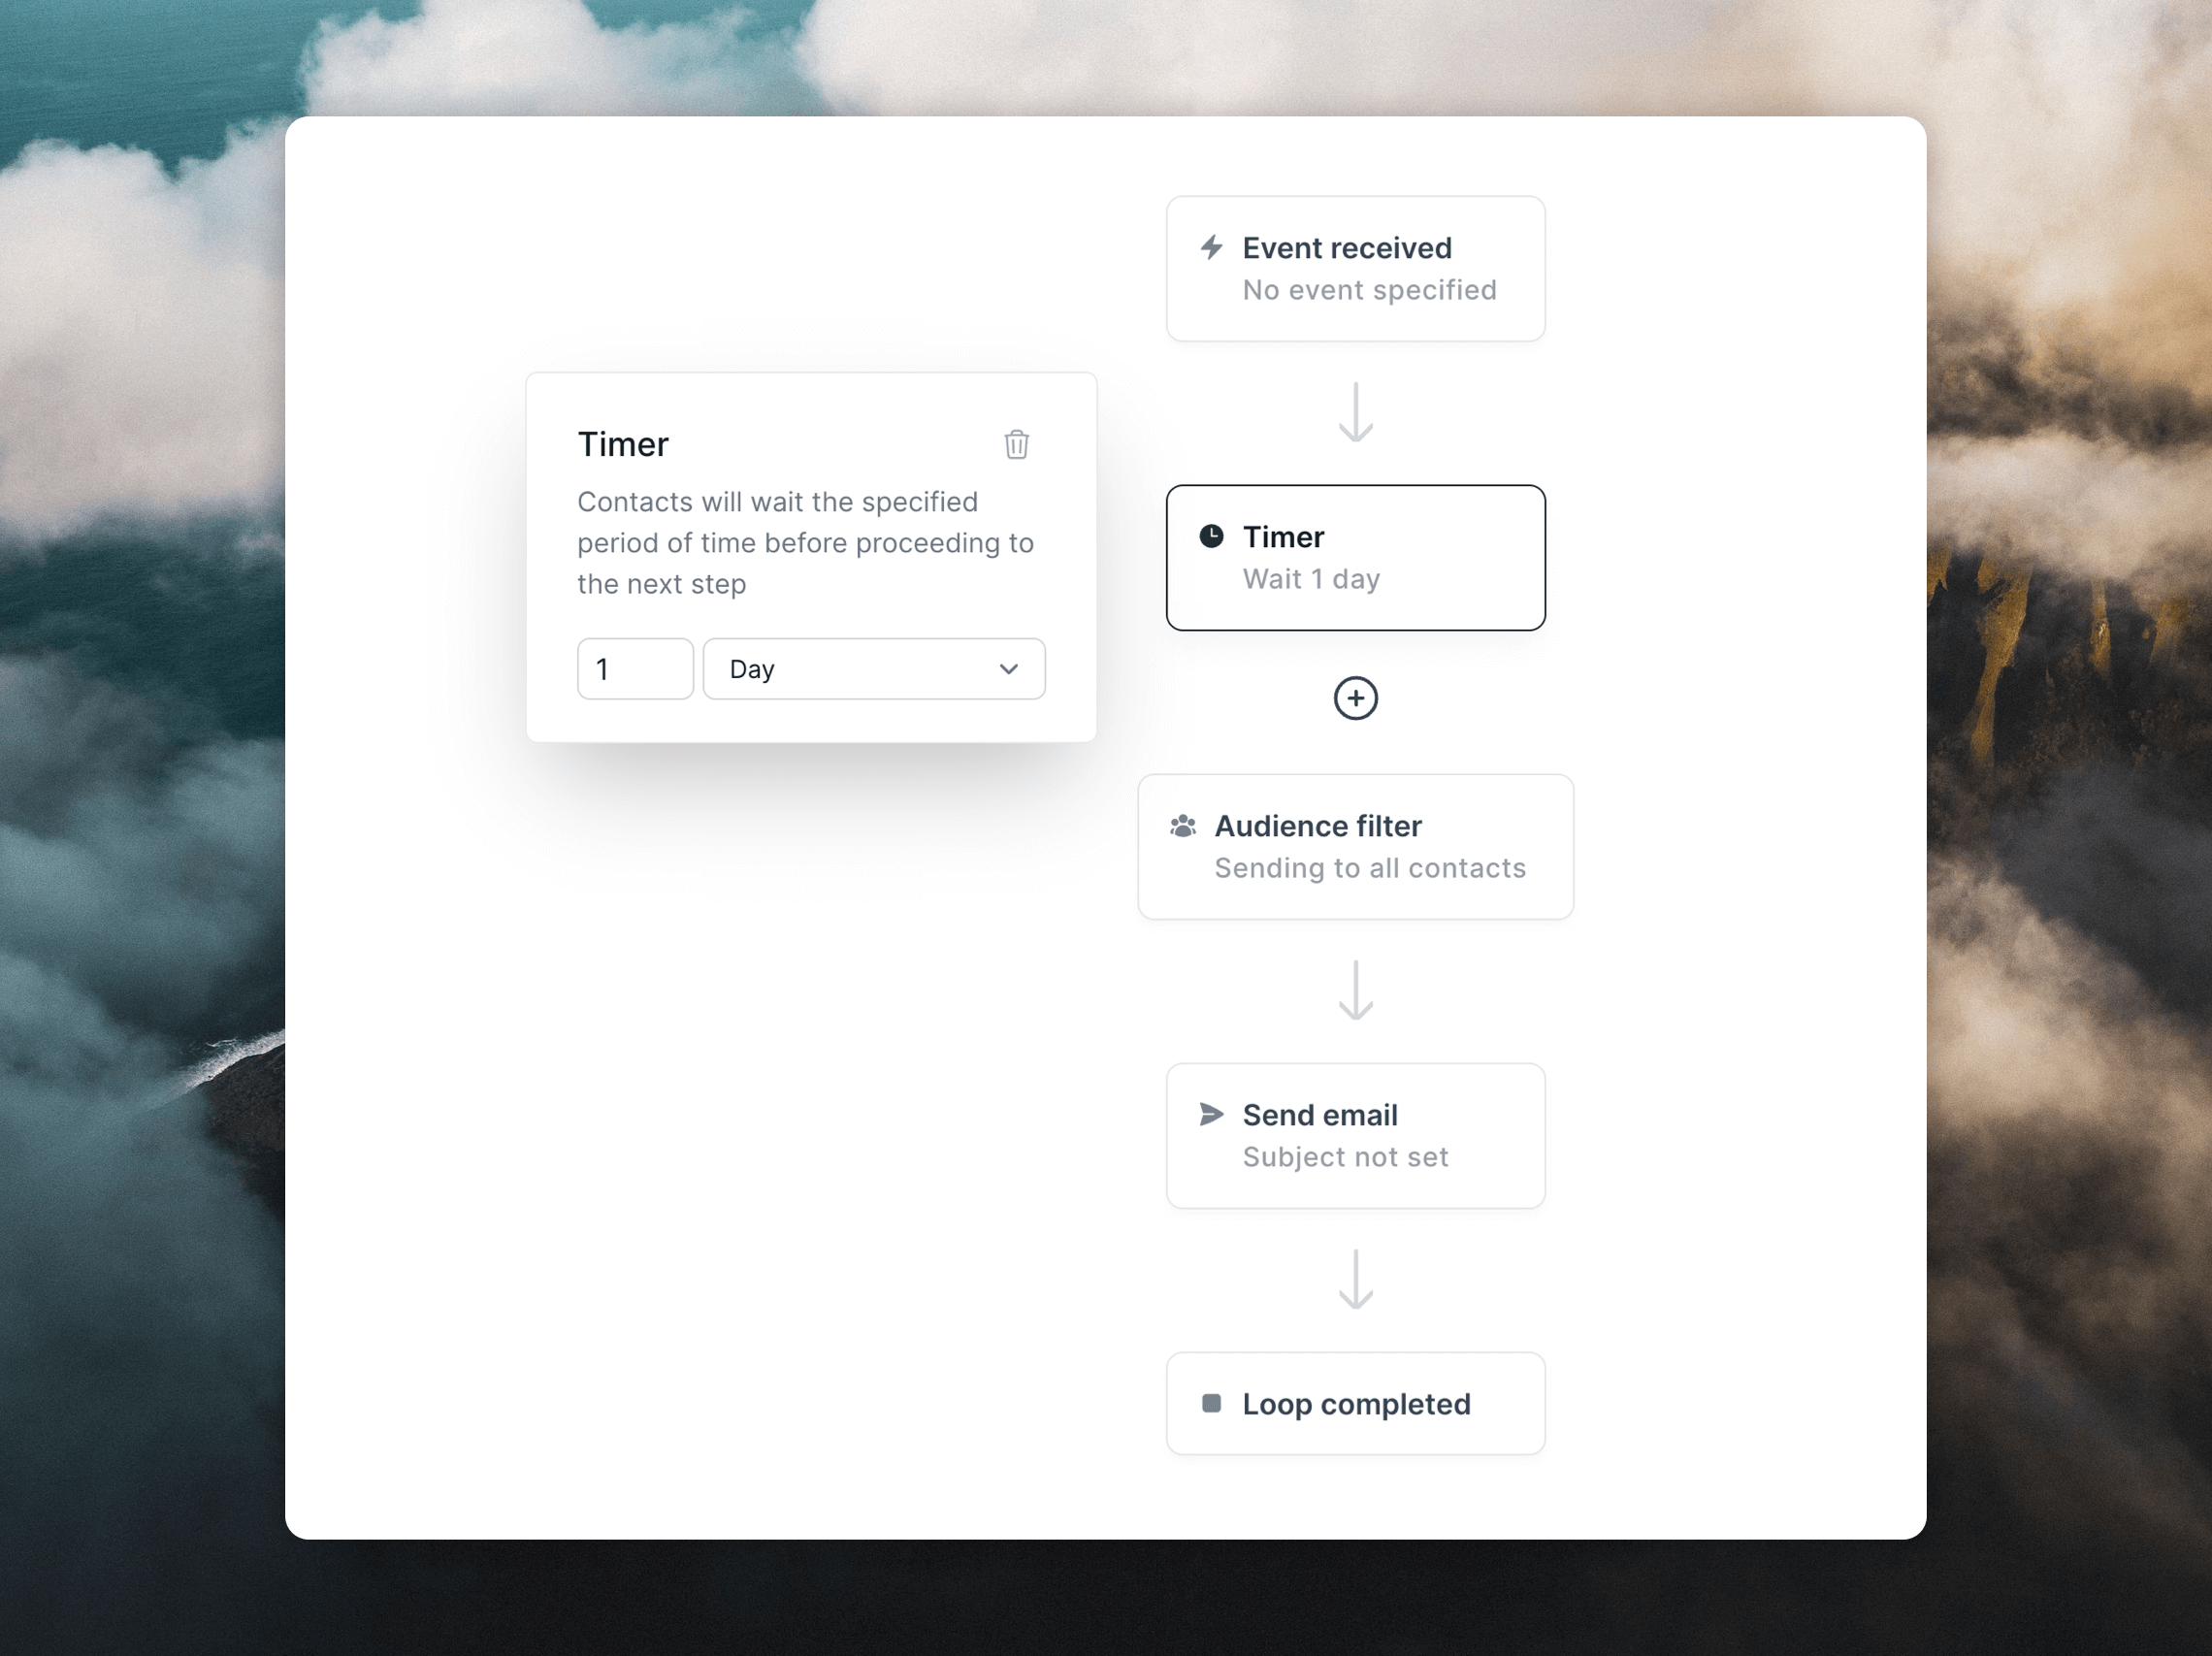
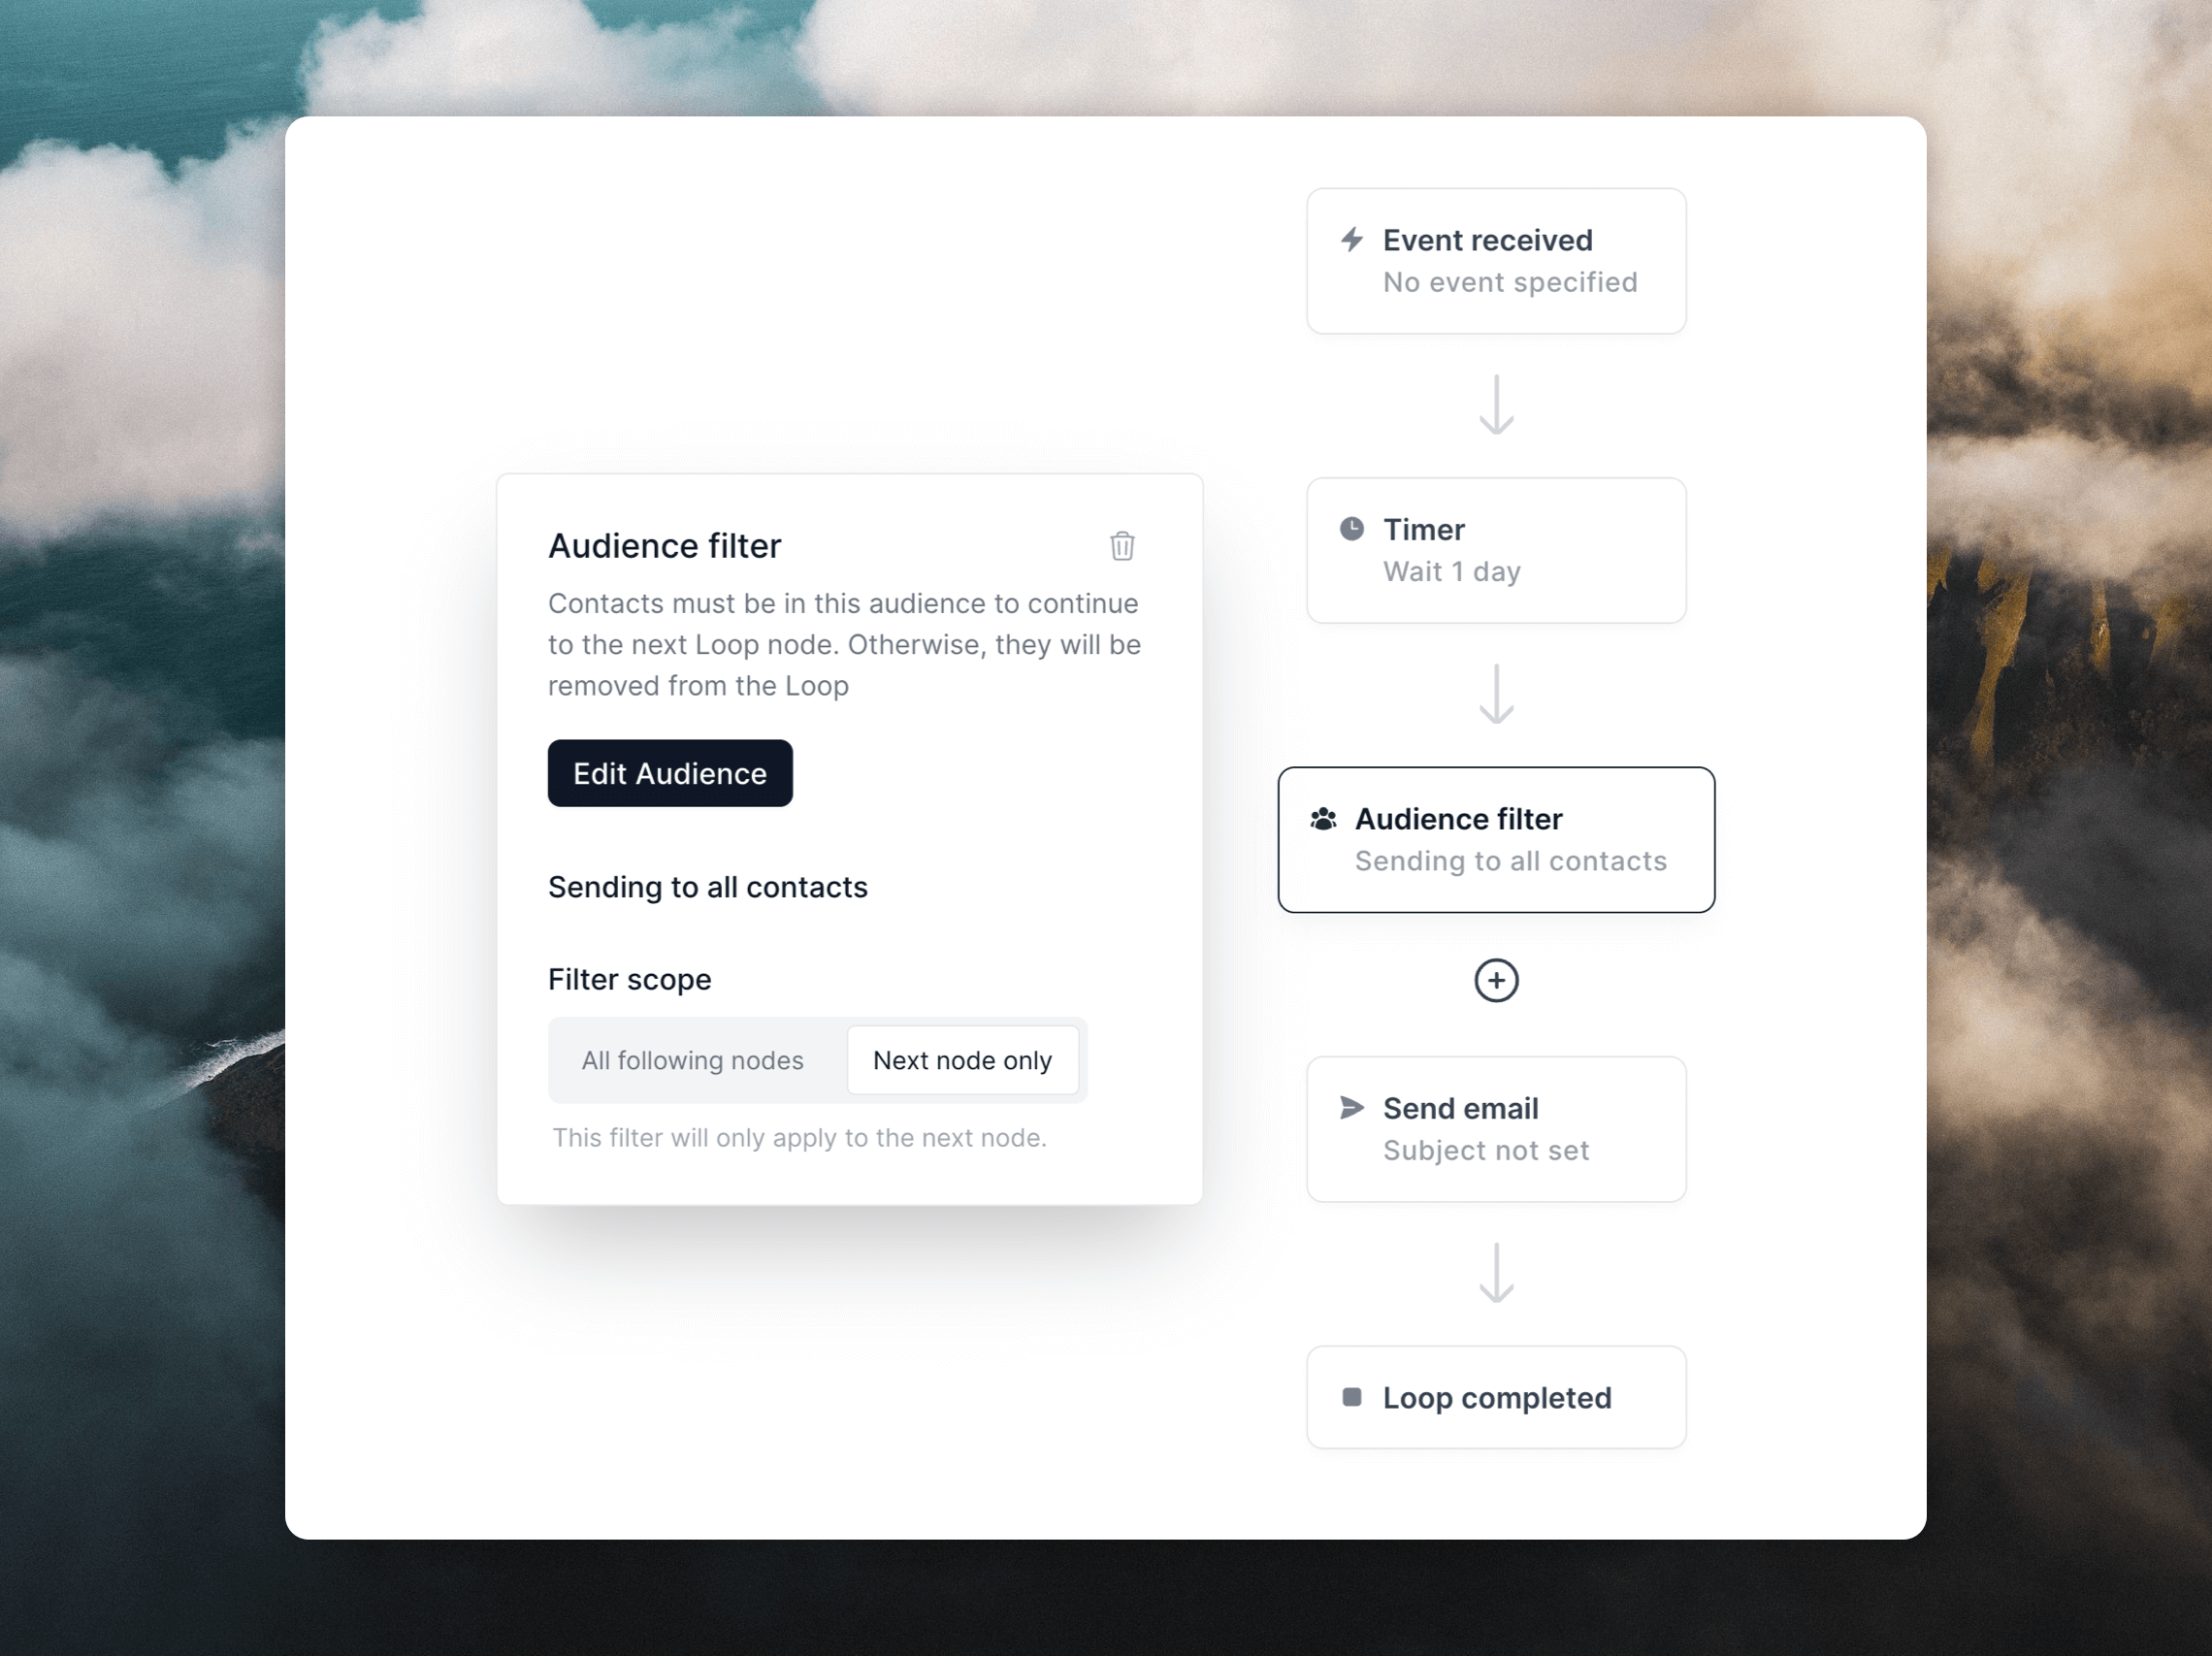
Audience filters
signup the Timer duration to 3 days and the audience filter to paid equals false.
There are two options for applying audience filters:
- All following nodes: this will apply the filter when contacts reach every following node. If a contact no longer matches the filter’s audience when they reach a following node, they will be removed from the loop.
- Next node only: this will apply your filter before contacts reach the next node. This is a one-time filter and any changes to the contact’s value after the filter will not be taken into account.
Branching loops
Learn how to branch loops using audience filters.
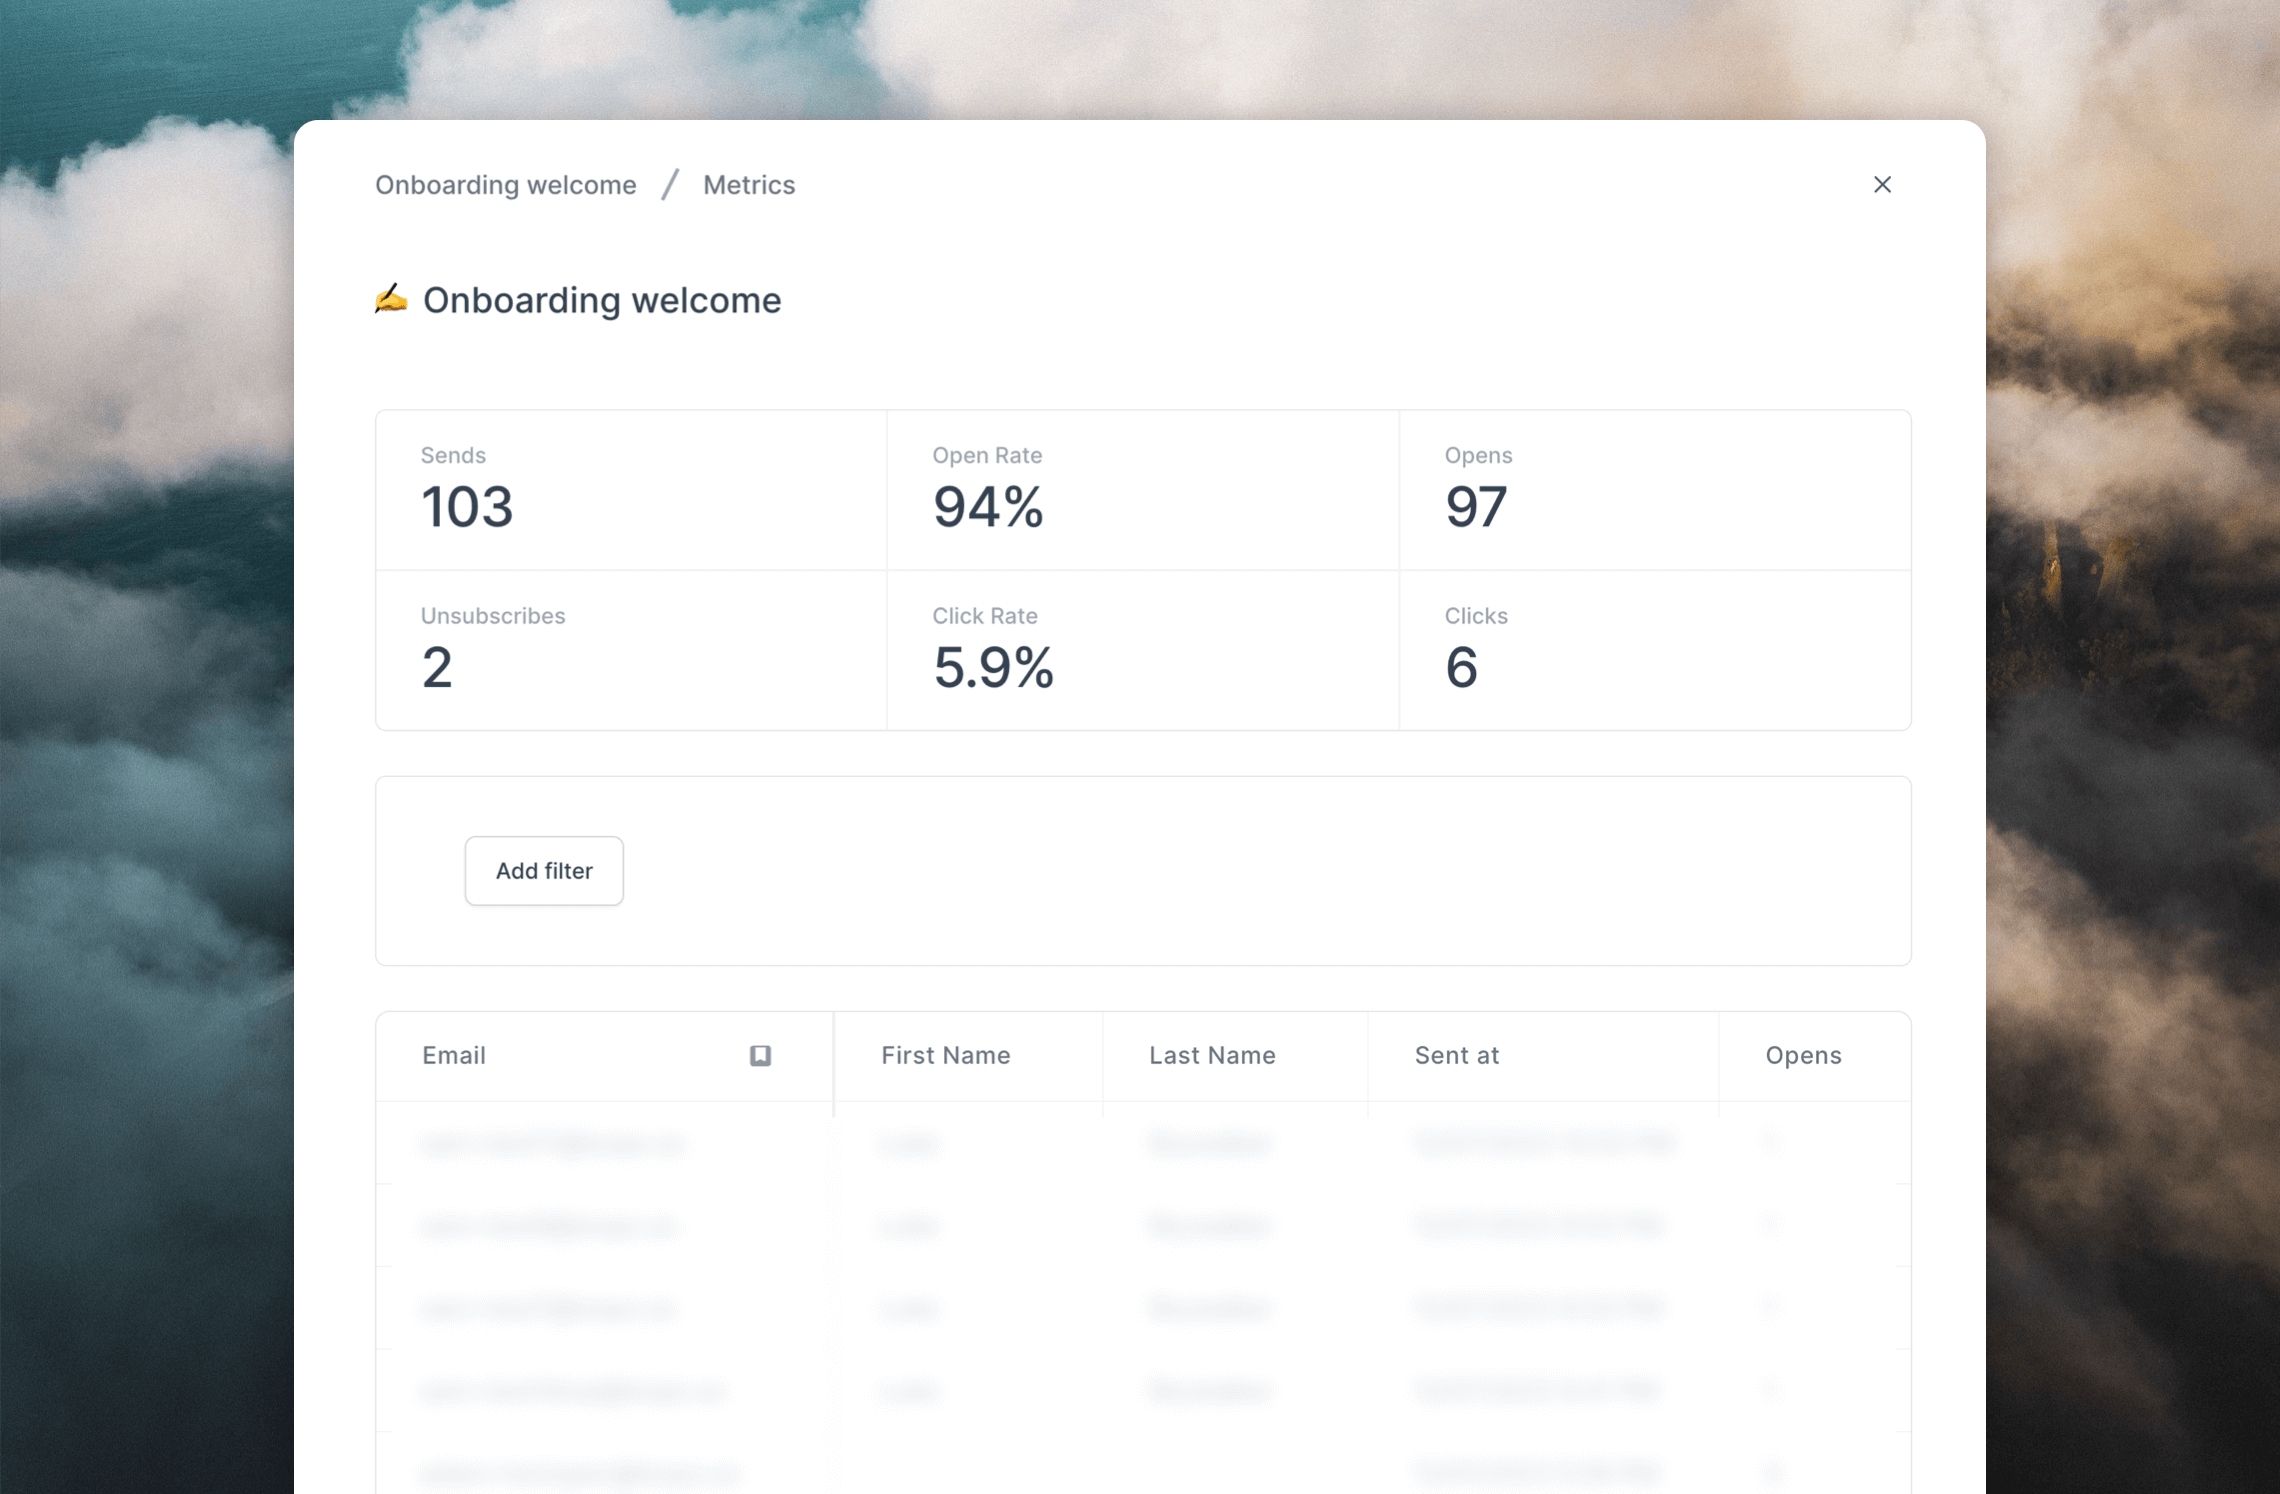
Metrics
Click over to the Metrics tab to view simple metrics inline within the builder.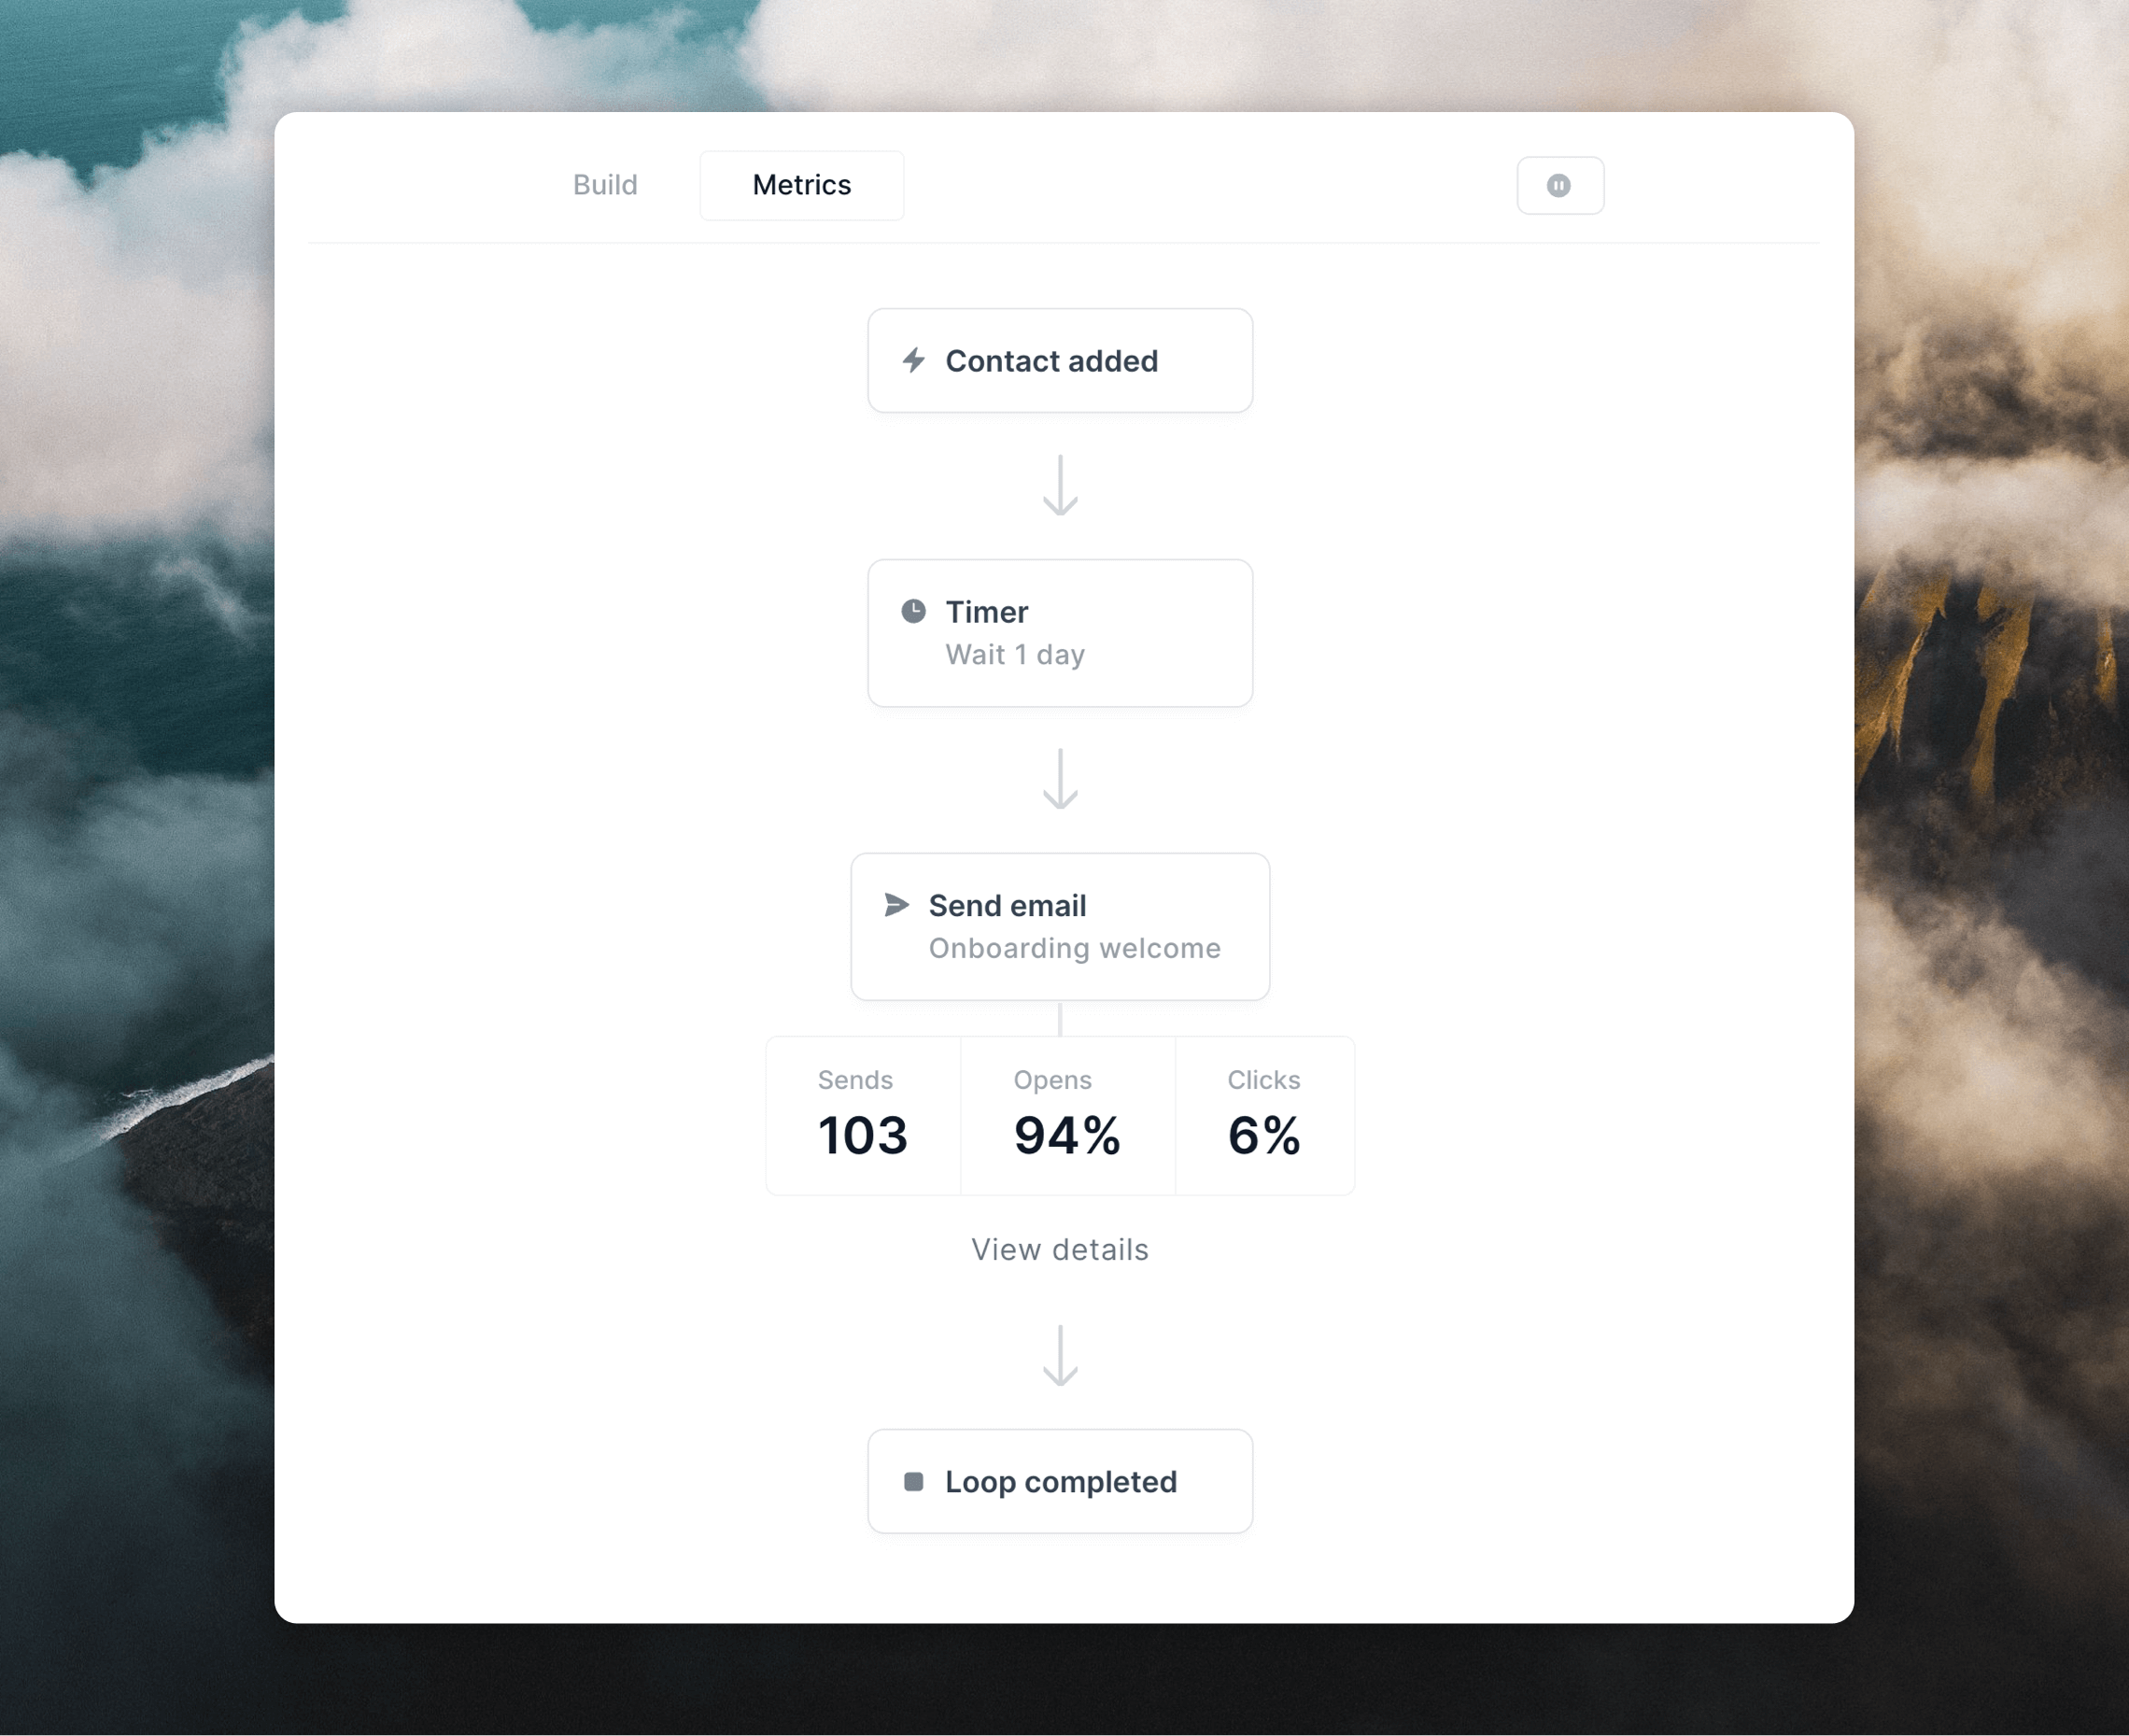
Testing loops
You can test if a Loop works as expected by using email addresses with@example.com and @test.com domains (for example test@example.com).
First, add these as contact in your audience, then depending on how your Loops are set up, you can add and update properties, or send events to these email addresses to see how contacts move through your Loops.
Emails will not be sent to @example.com or @test.com email addresses so this is a good method to test emailing contacts without affecting your sending domain’s reputation.
You can also send test emails for each of the emails in a loop. Click on an email node and then the Send a preview airplane icon above the preview that appears.